
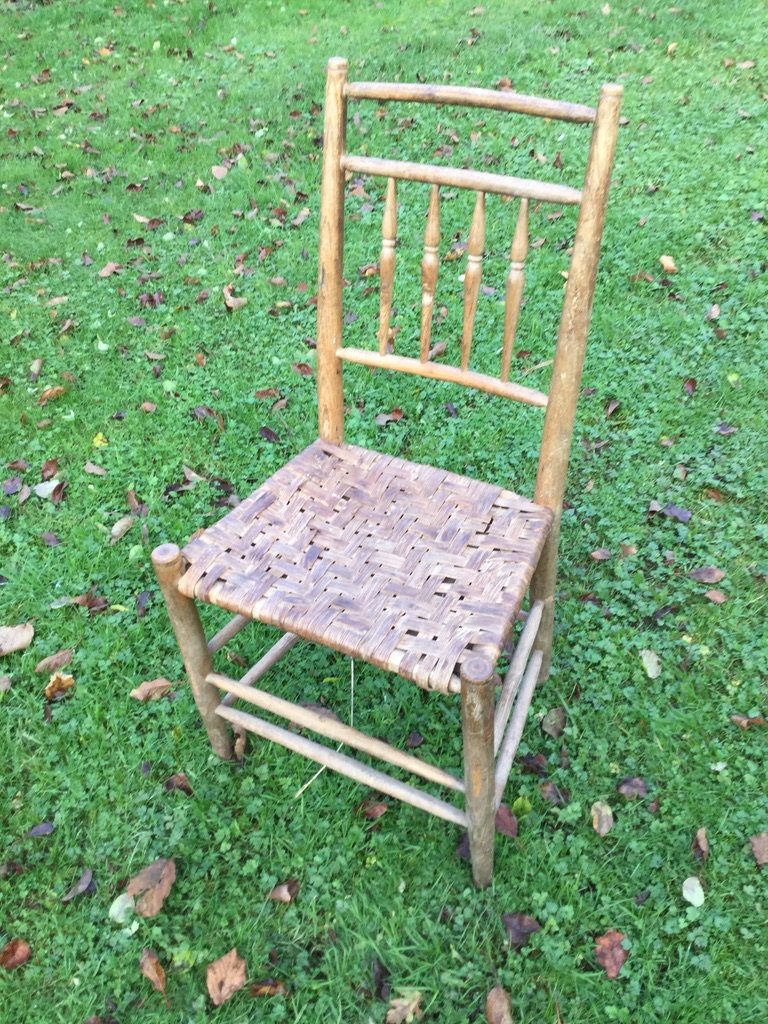
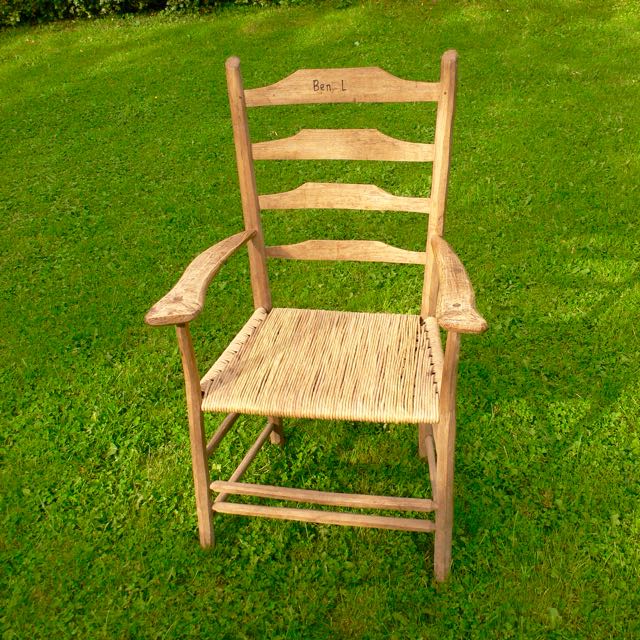
What is a wee-wor chair?
Back in 1996 my wife and I bought a sweet little chair, probably made as a nursing chair and I kept it in my woodland workshop as an example for people to copy on my chair-making courses. Several years later, one of my course participants recognised the style as being made in the small Shropshire town of Clun on the border with Wales. He described it as a wee-wor chair but I have since discovered that wee-wow is in fact Shropshire dialect for ‘wobbly’ rather than a technical name for a particular design of chair – but we have kept the name.
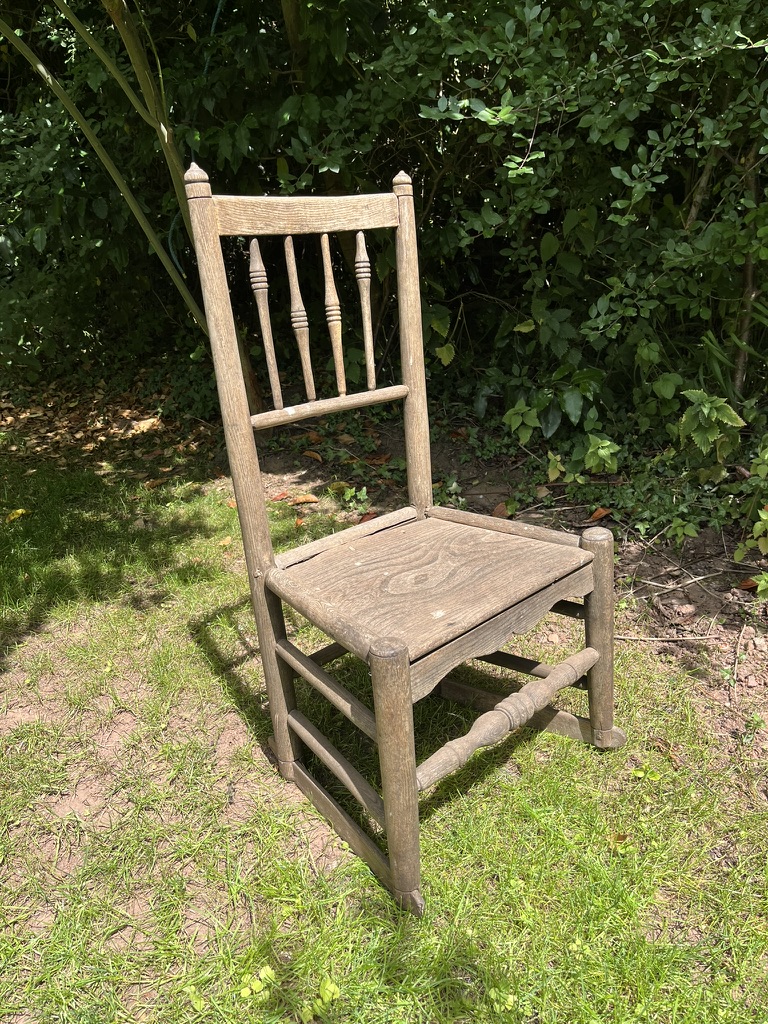
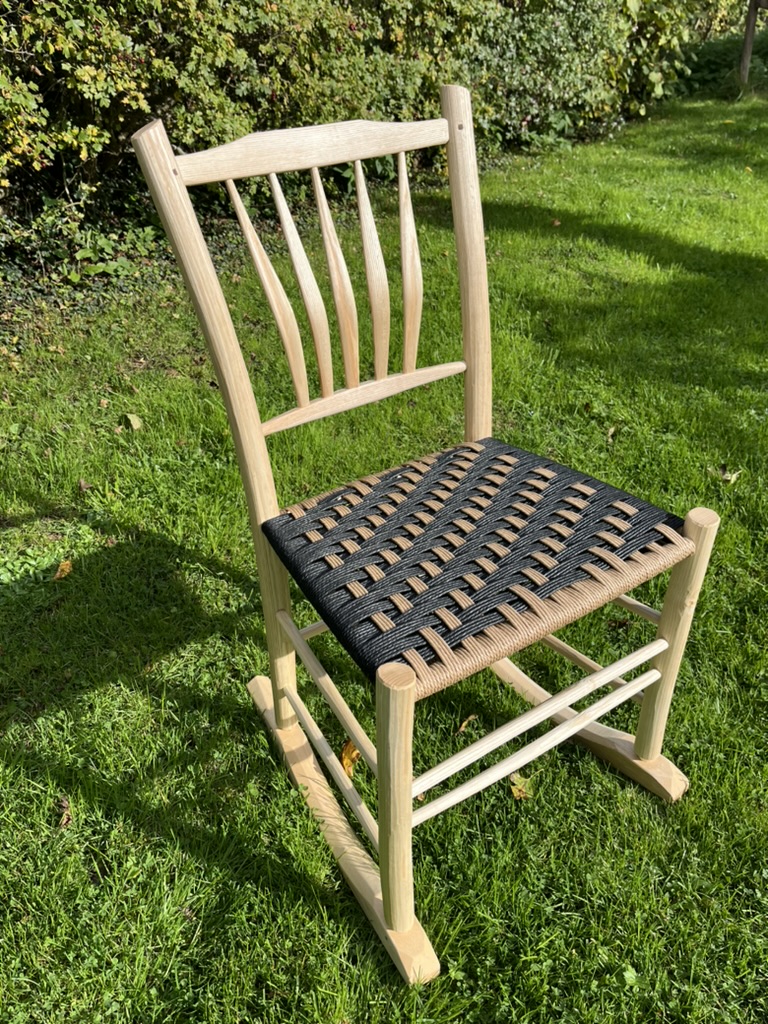
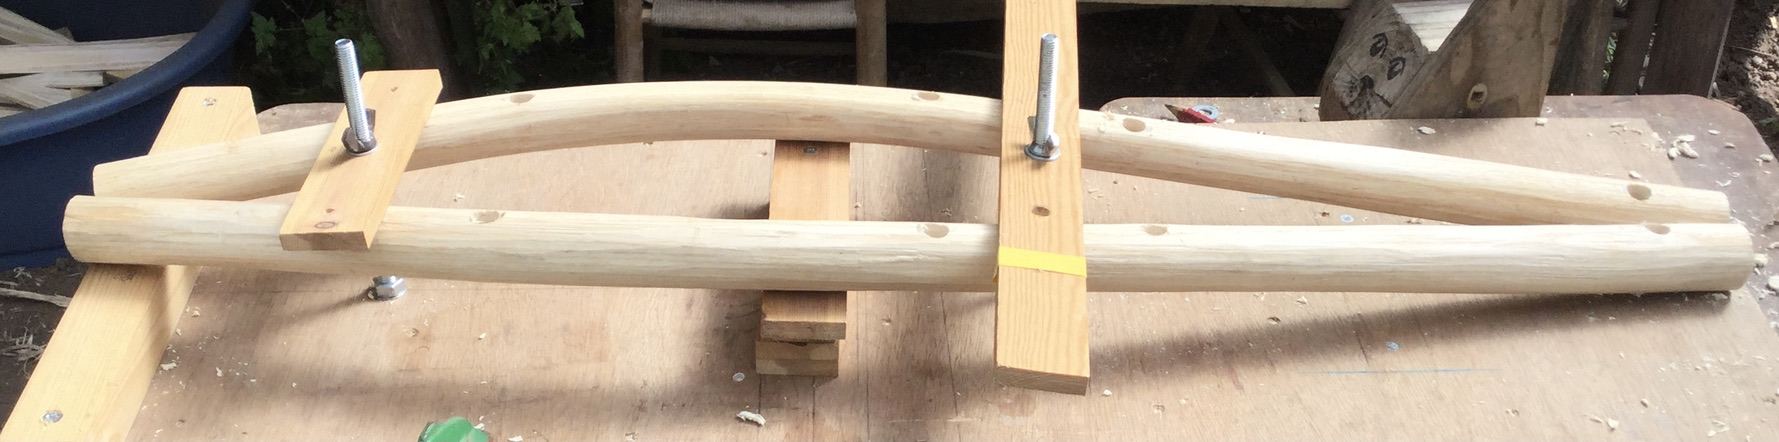
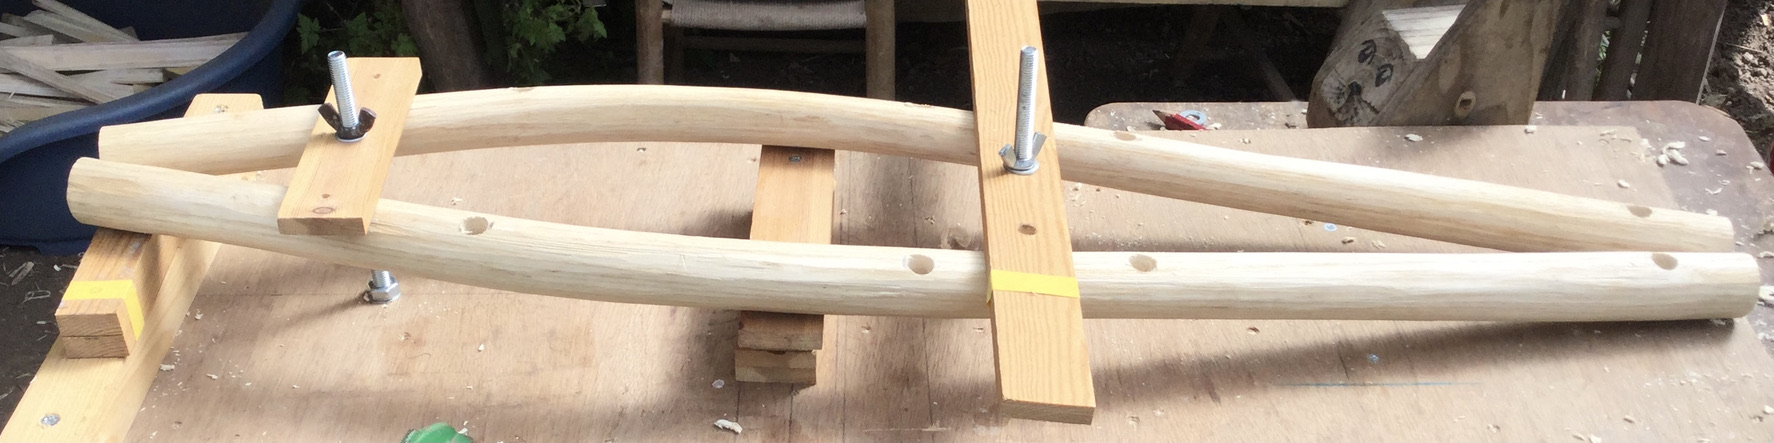
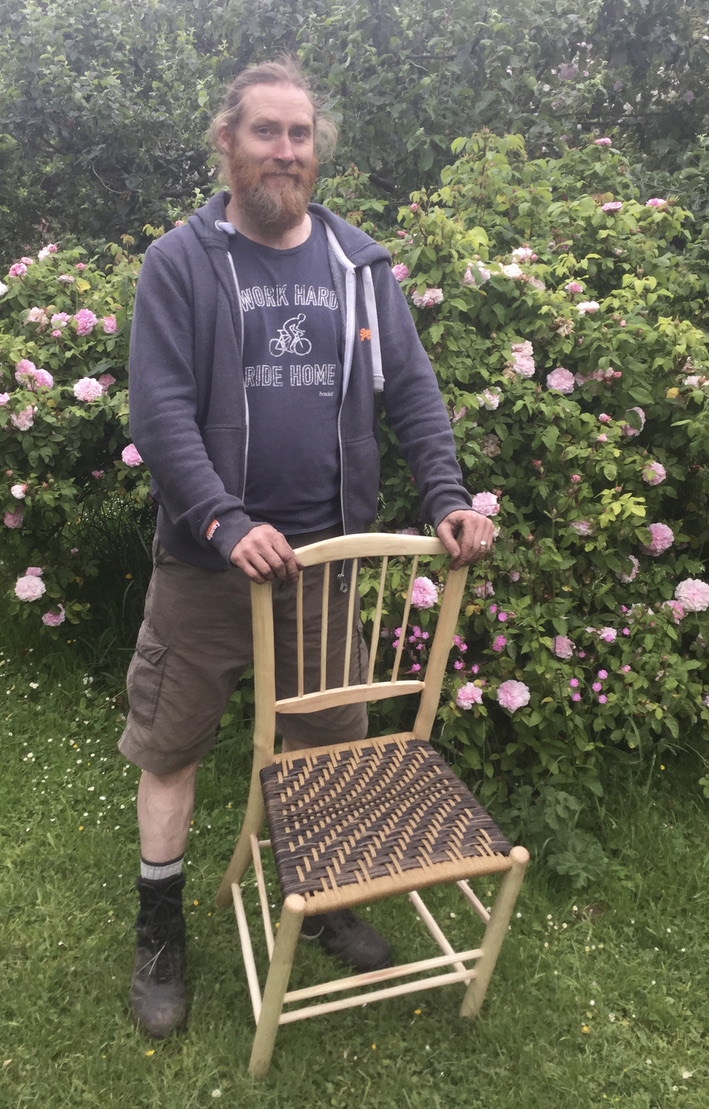
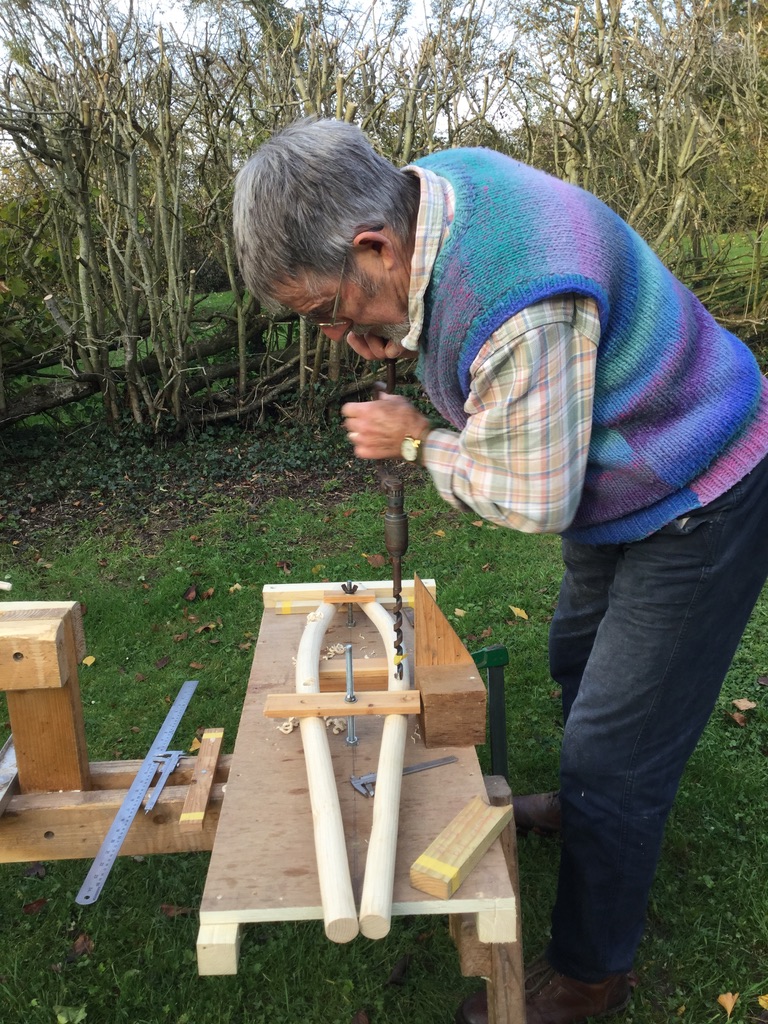
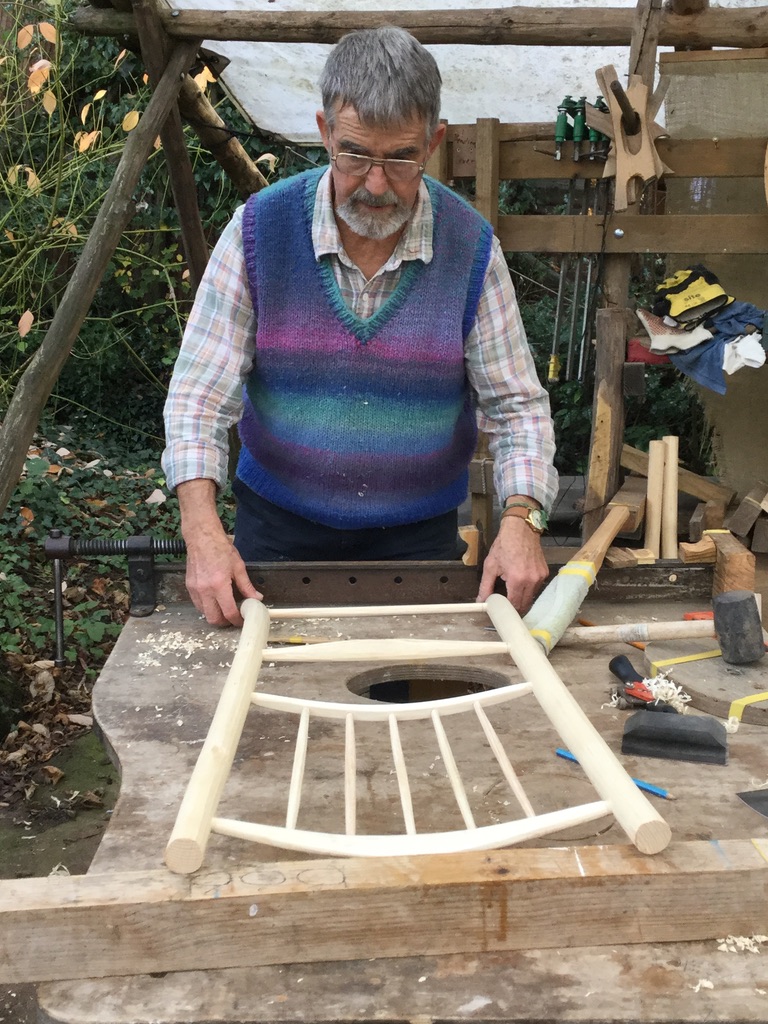
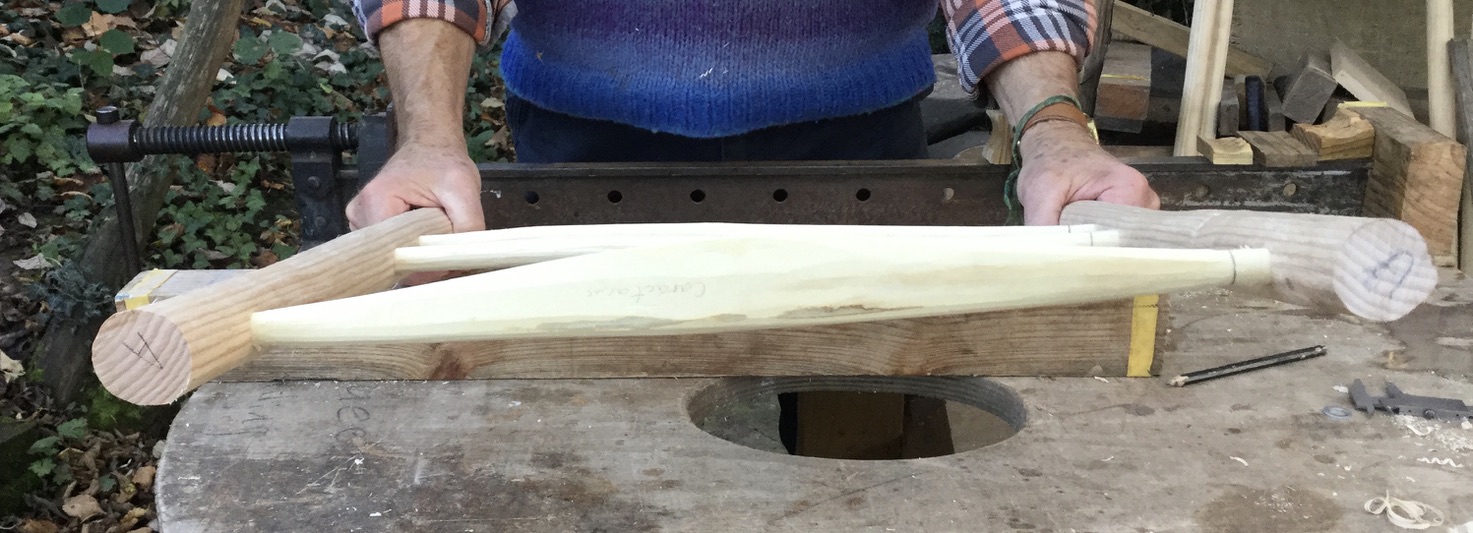
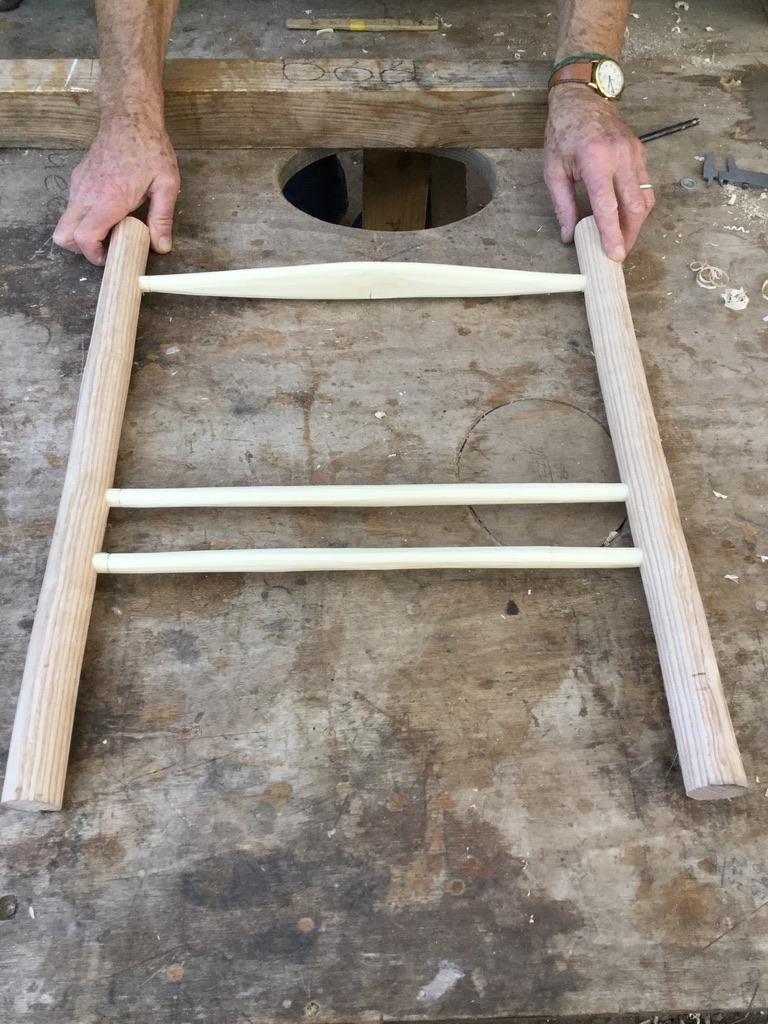
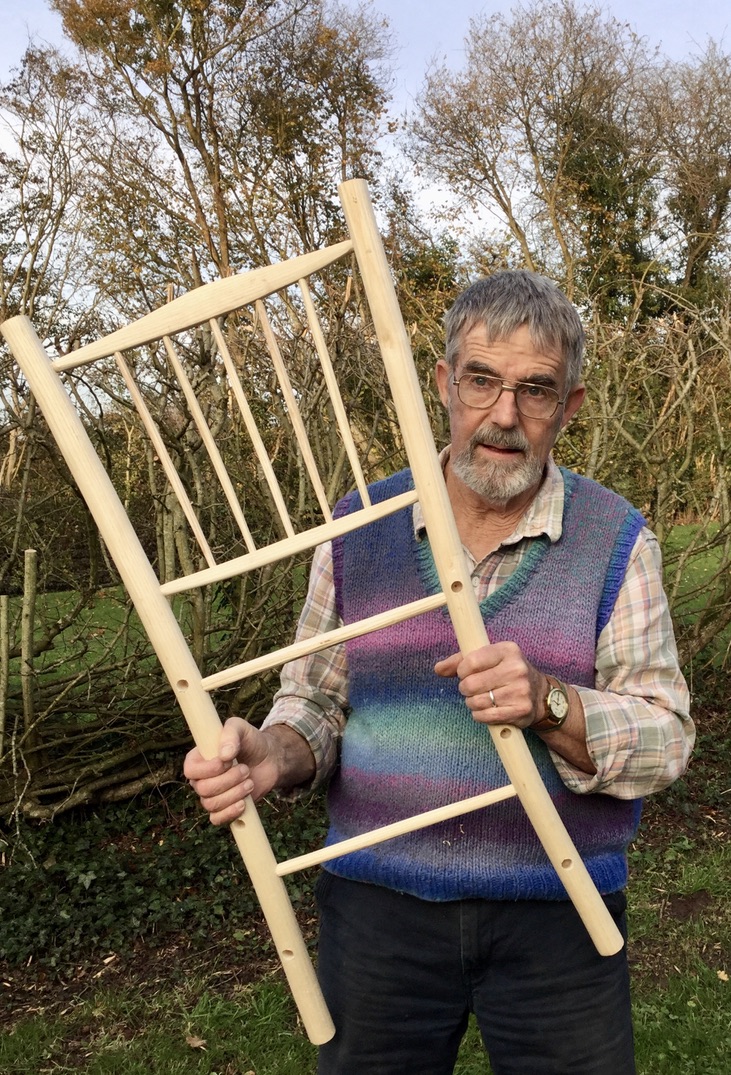
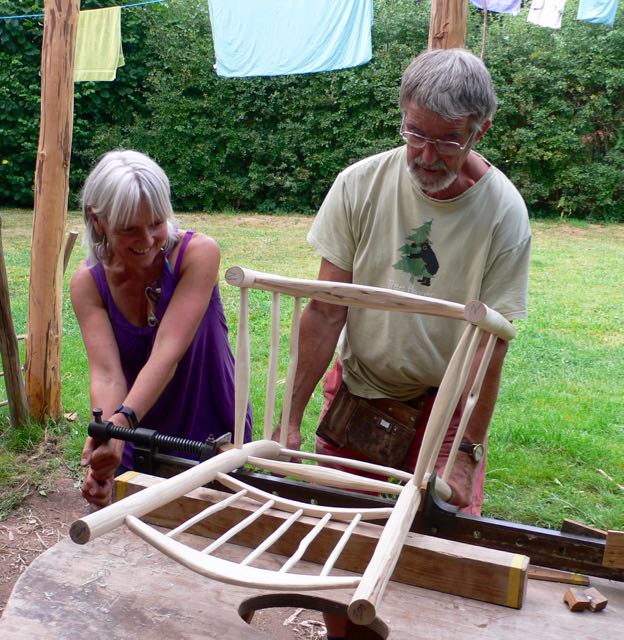
Its defining feature is a pair of rockers, much smaller than your normal rocking chair (hence its description as wobbly) and it doesn’t have arms (presumably to enable breast-feeding). On our original, most of the components were turned out of green ash on a pole-lathe and the legs were straight. The seat was made from a thin sawn elm plank (about 12mm or 1/2” thick) and it seems that the rockers were probably from the same plank and were slotted into the bottoms of the legs.
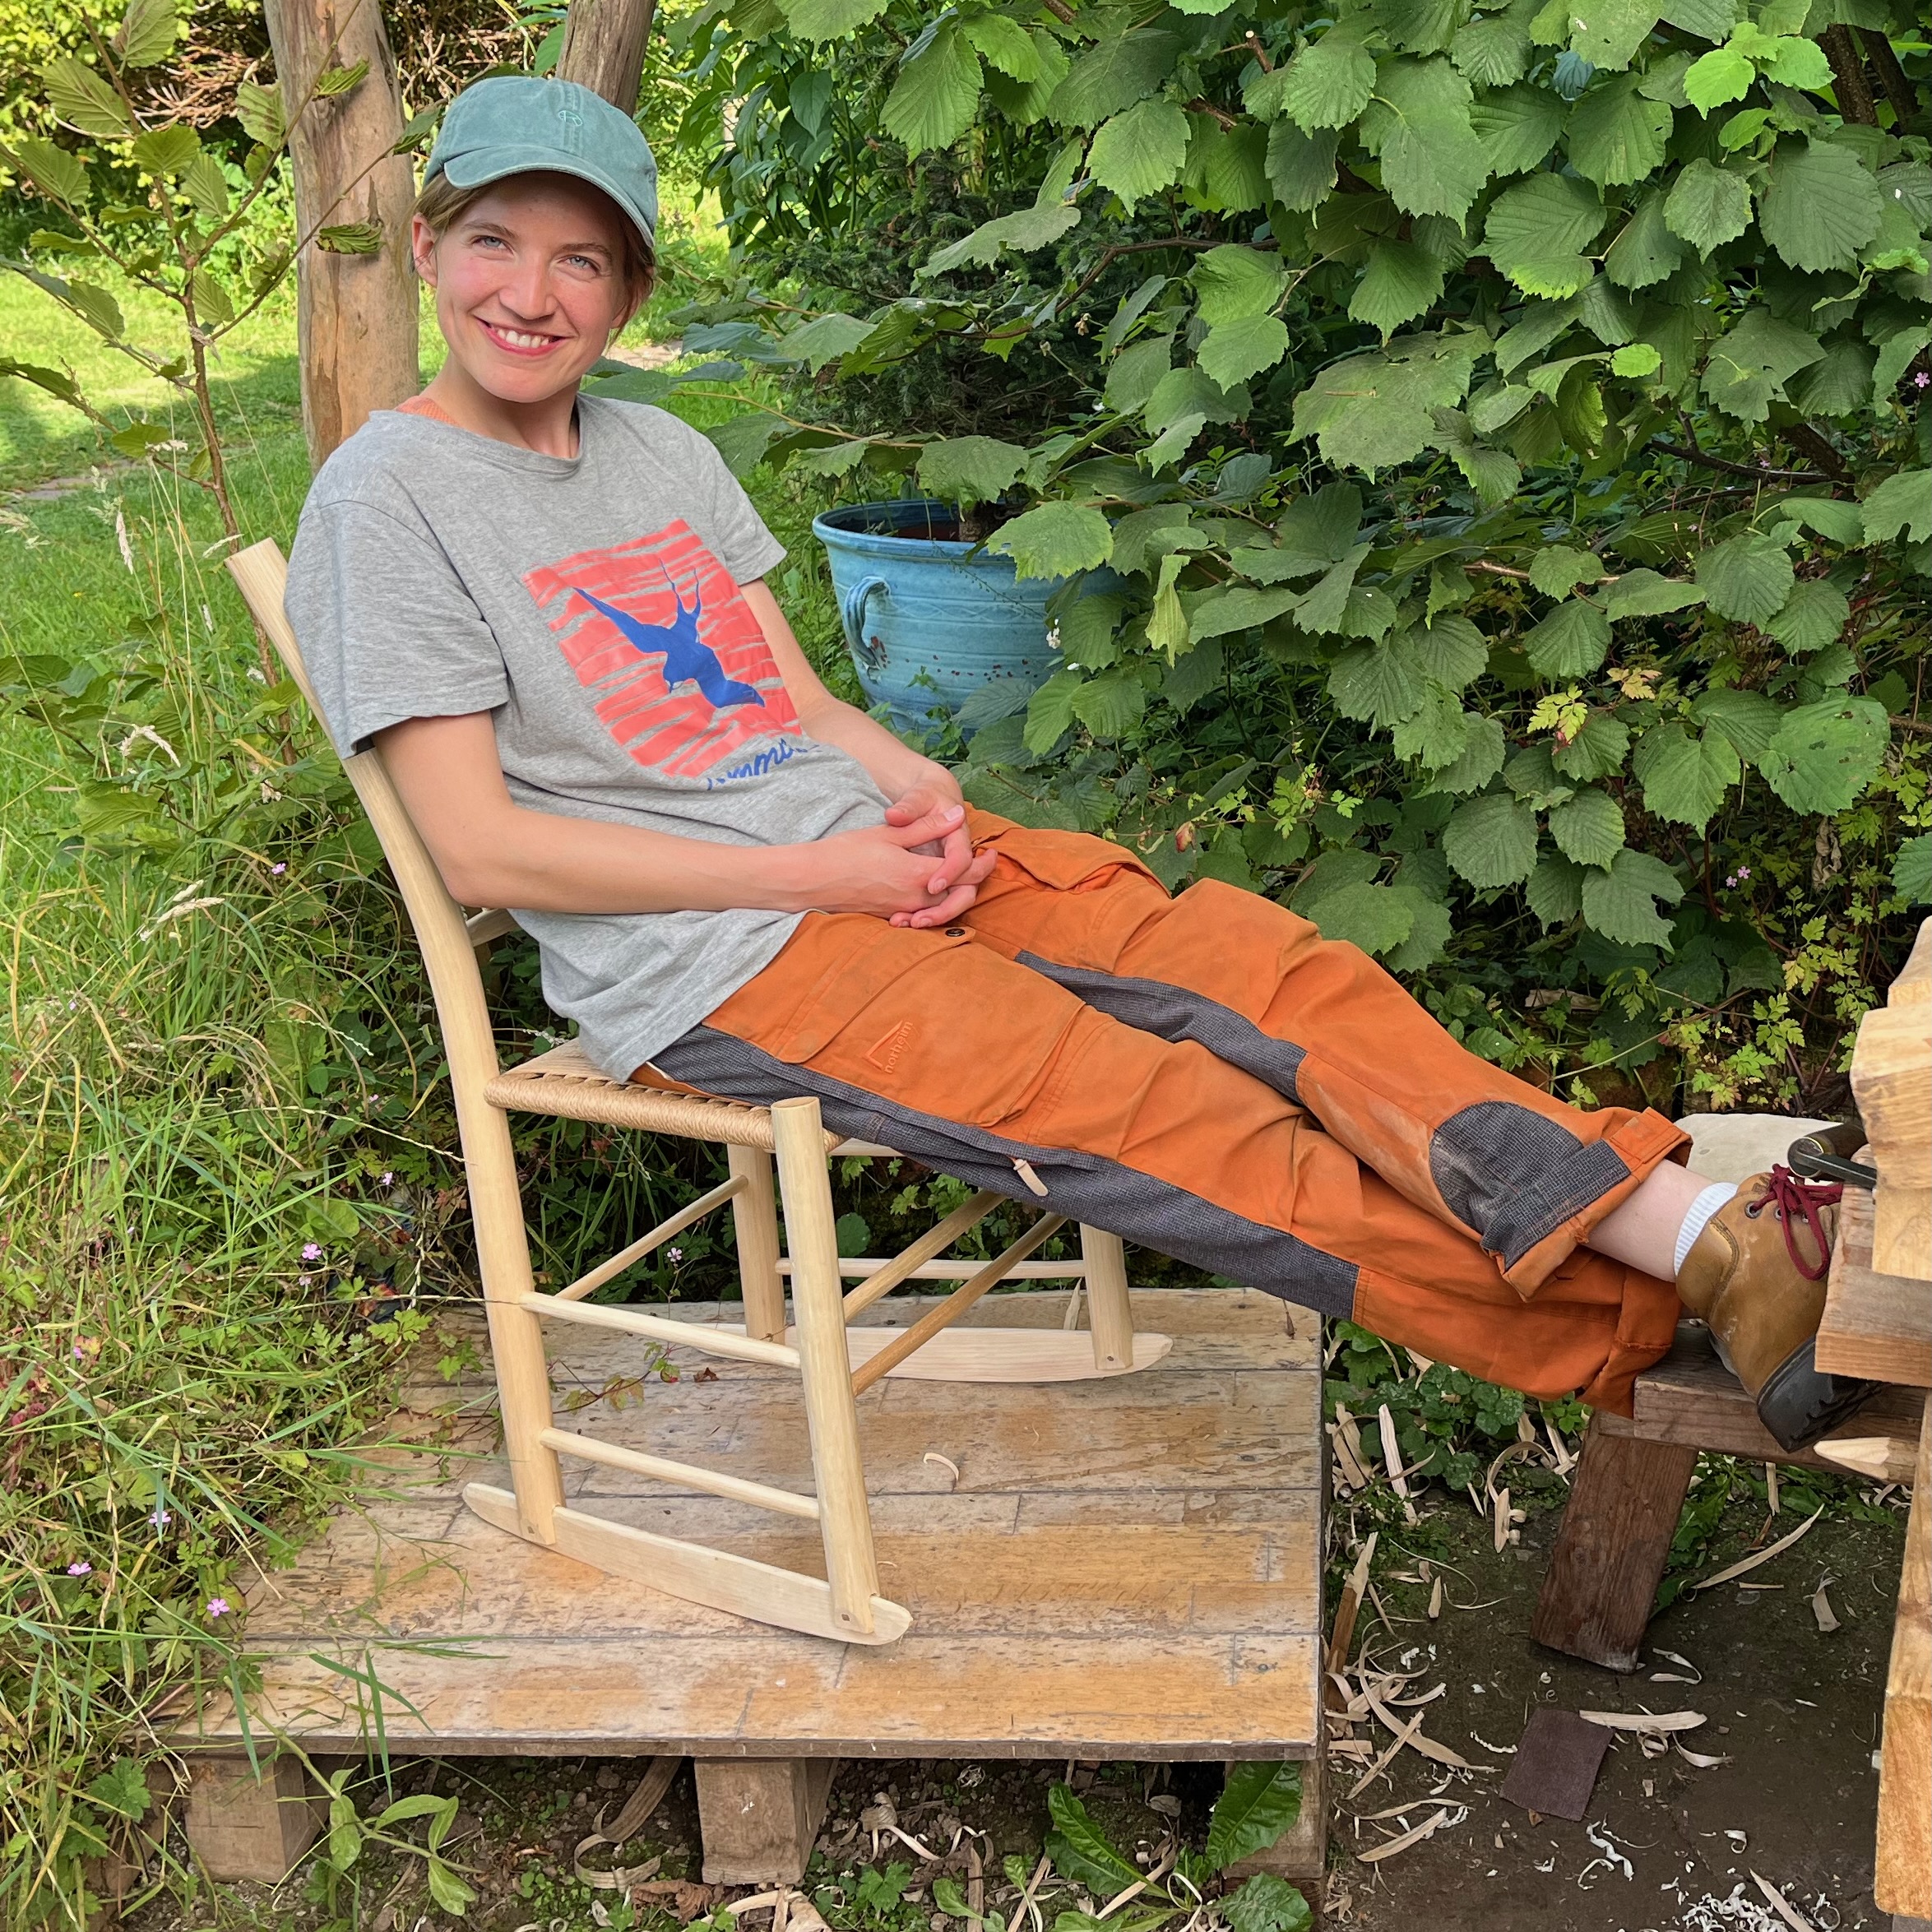
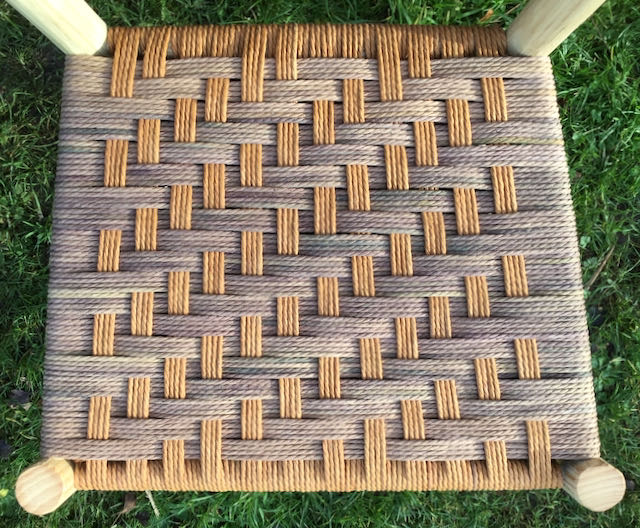
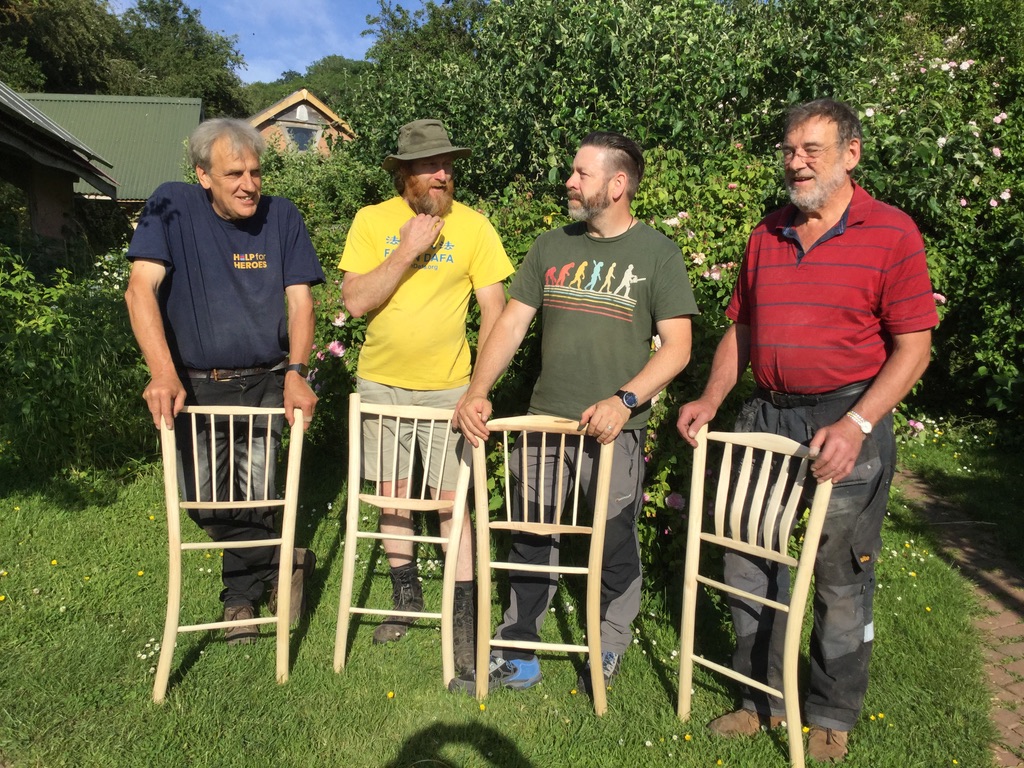
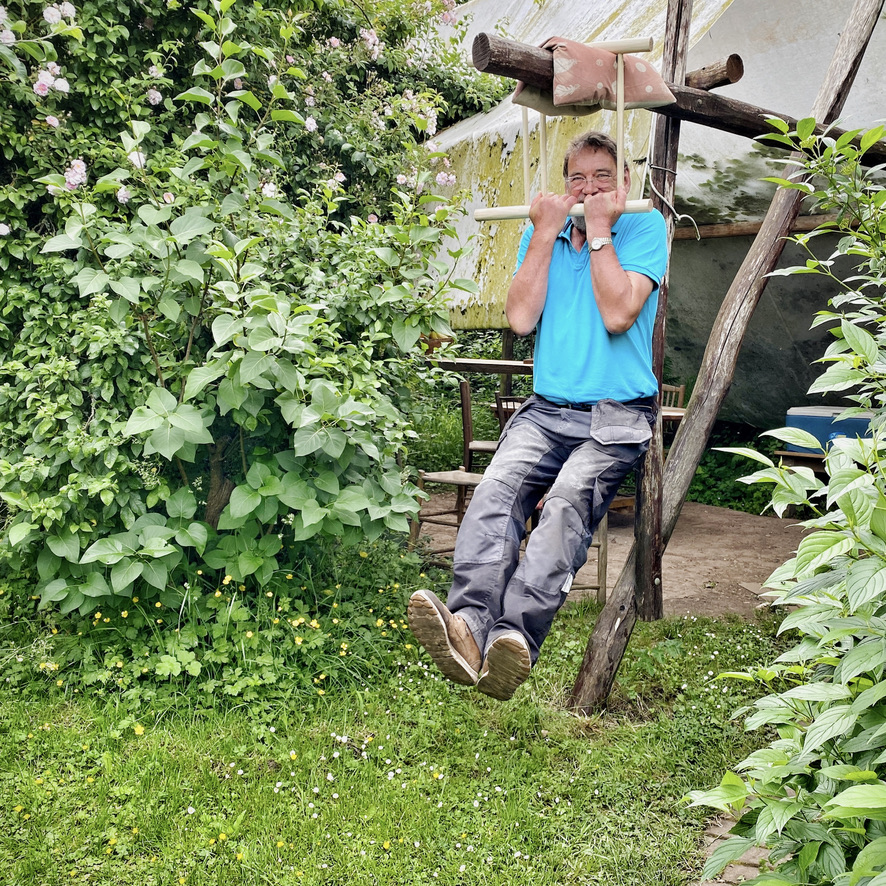
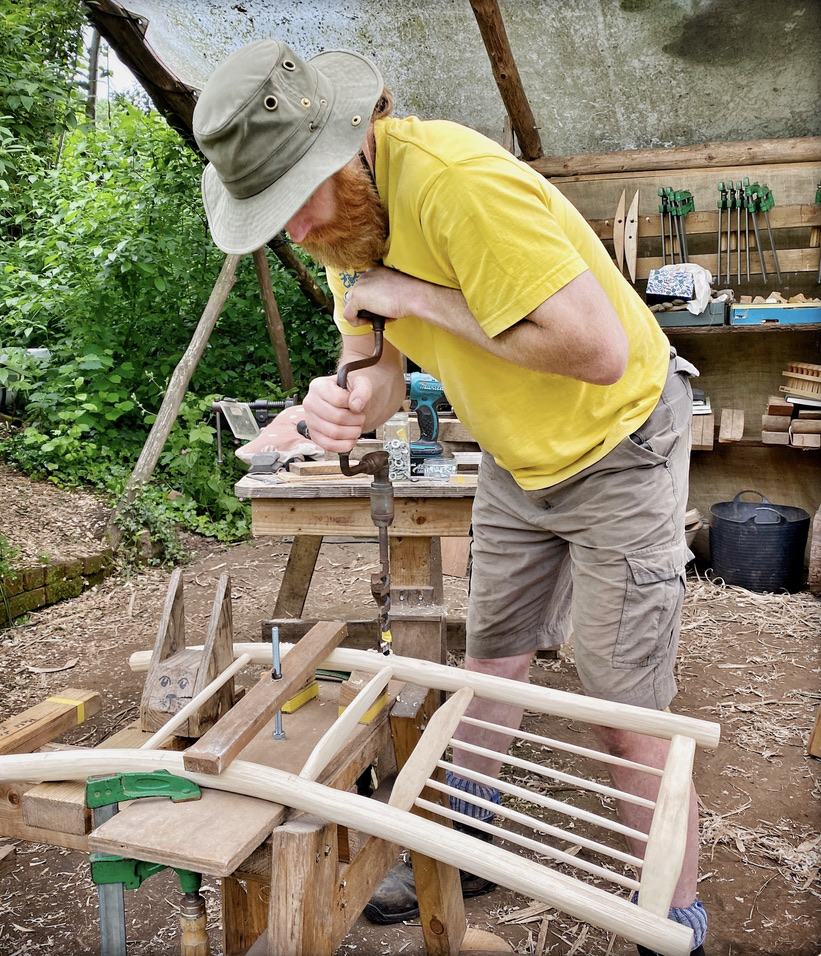
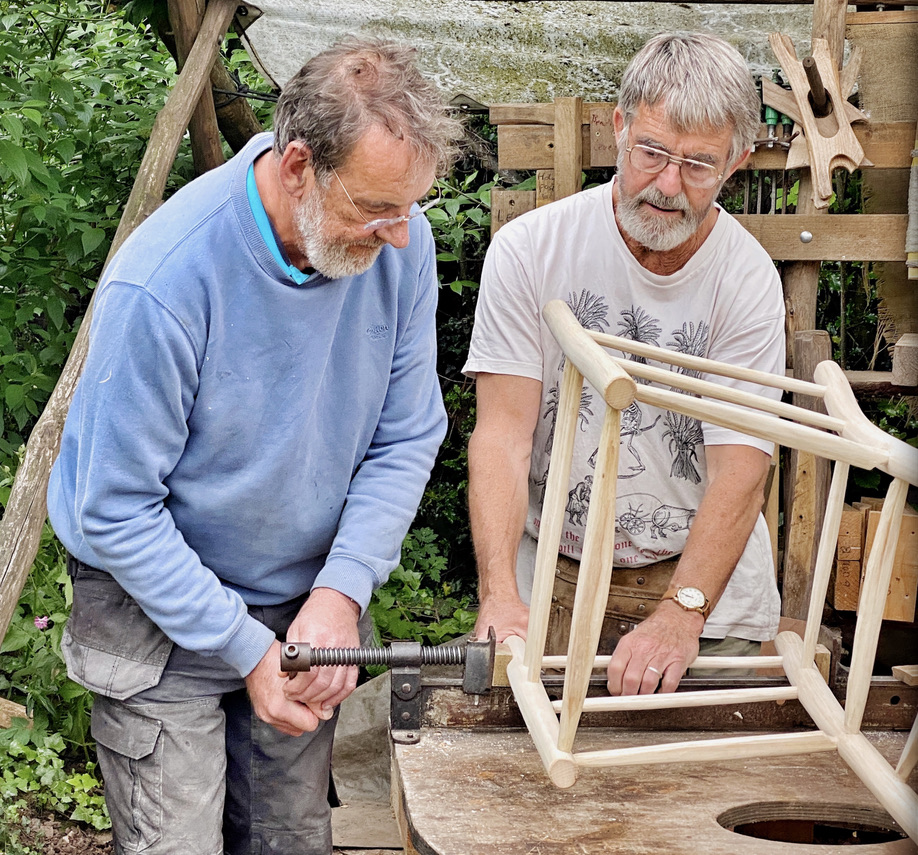
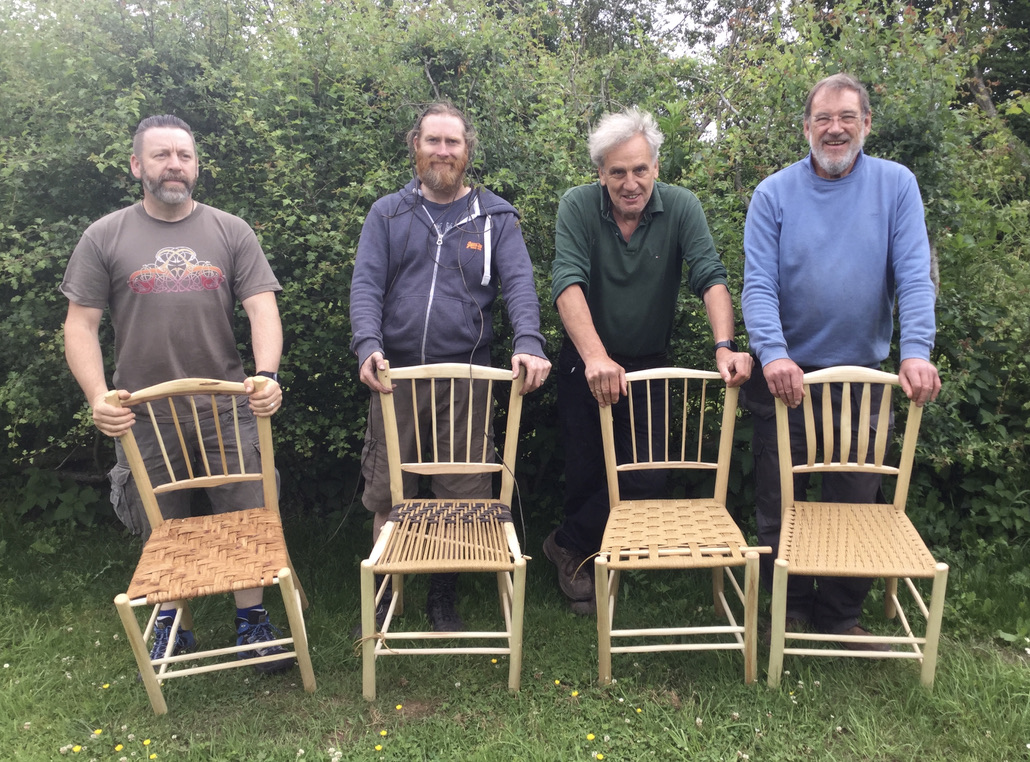
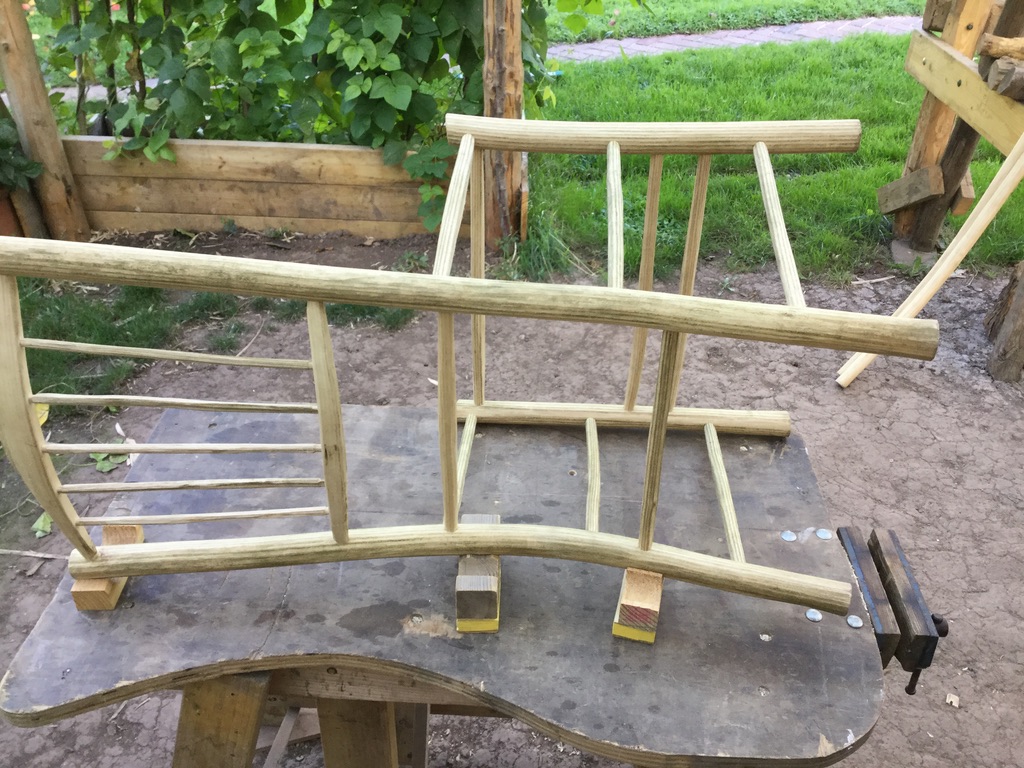
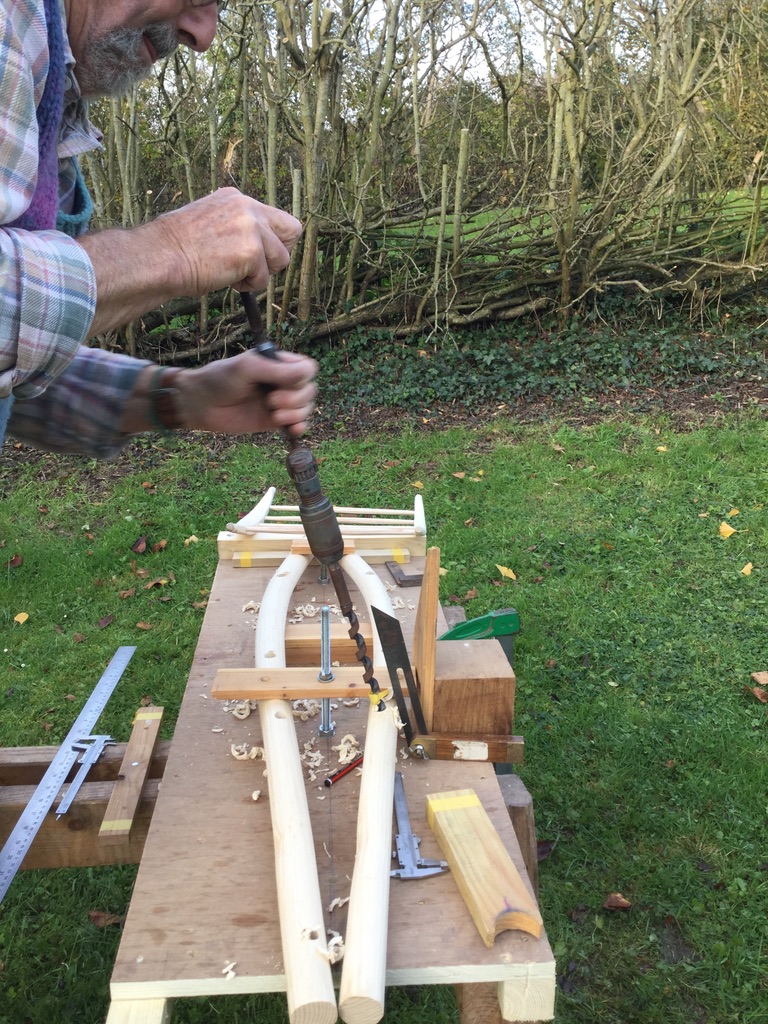
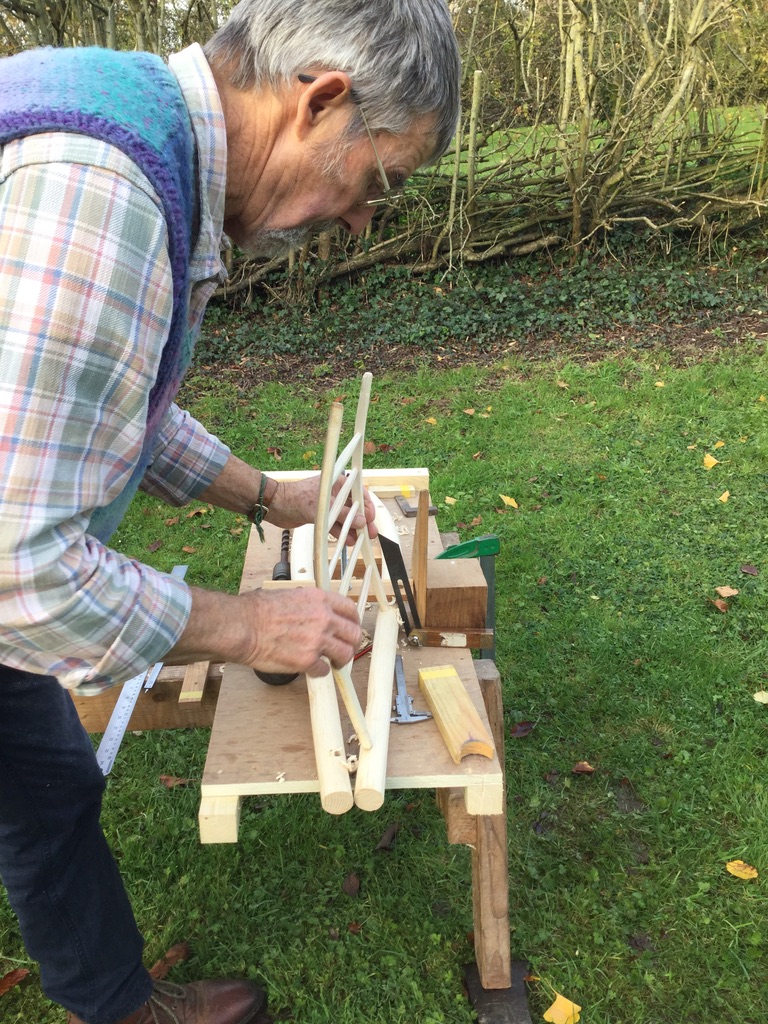
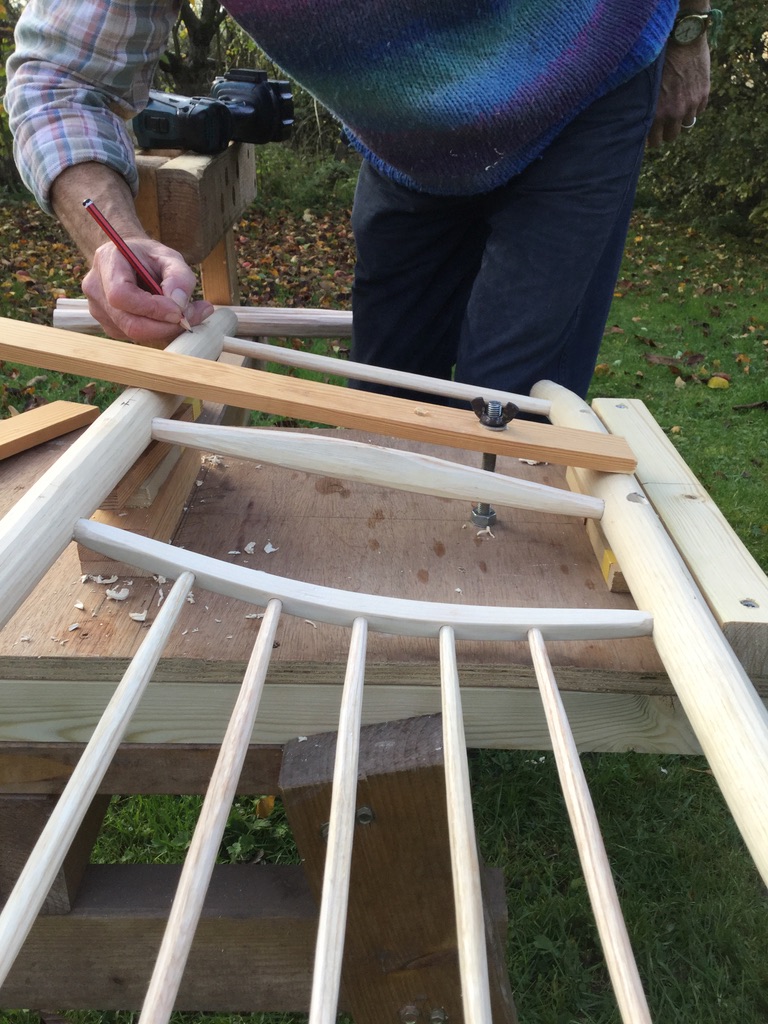
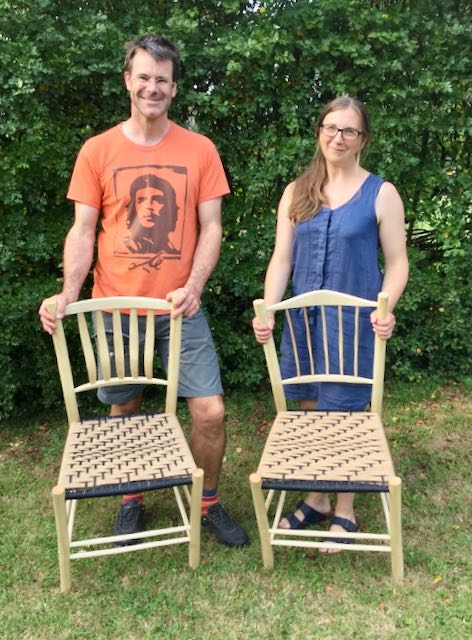
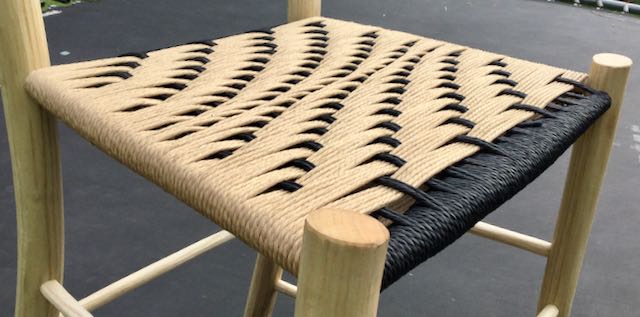
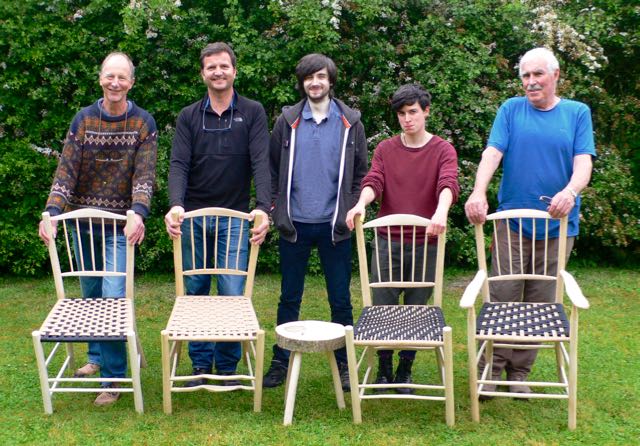
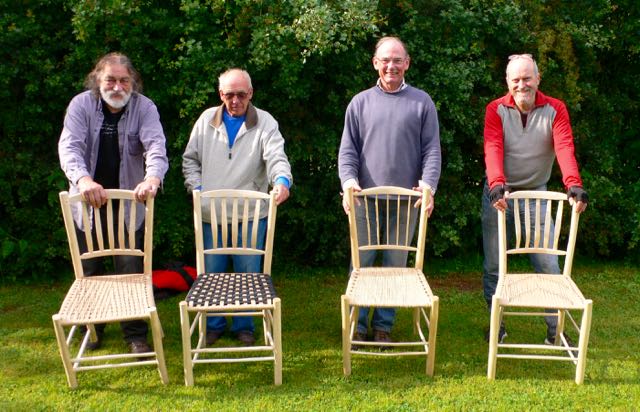
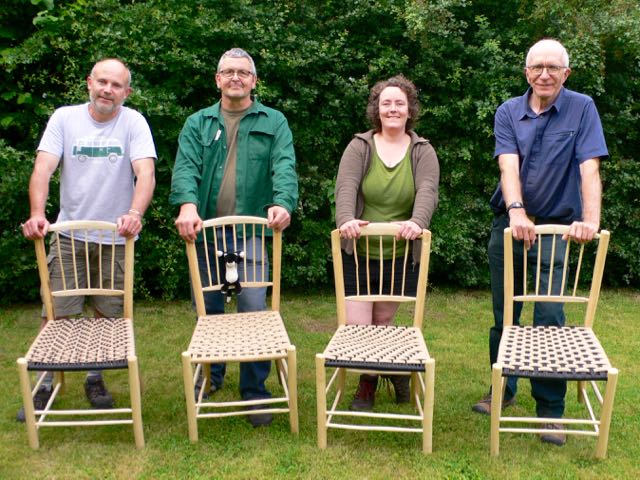
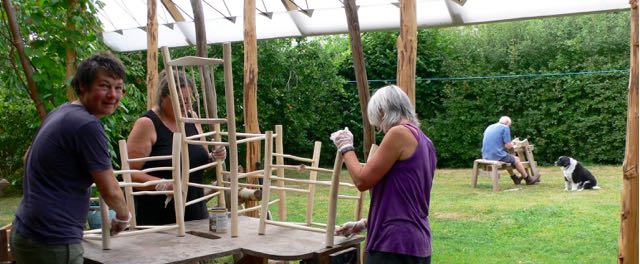
Thanks mainly to the ideas given by customers on my courses over the years, these chairs have evolved a great deal since then. As with all chairs made on my courses nowadays, the solid seat has been replaced with a woven seat, the back legs are steam-bent and all the components are shaved to shape rather than turned. When I had my workshop in the woods we discovered that this chair was well suited for playing guitar or for eating off a plate on your lap or generally for relaxed seating. Because it is about 8cm (3”) lower than usual, it is not suitable as a normal dining or office chair.
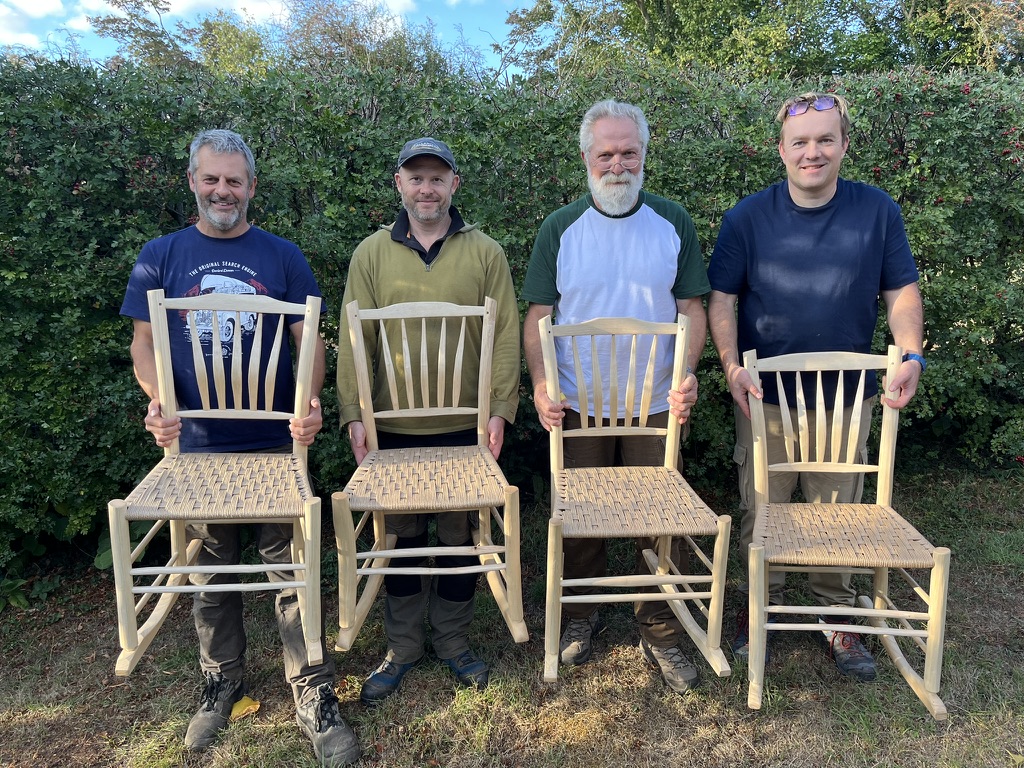
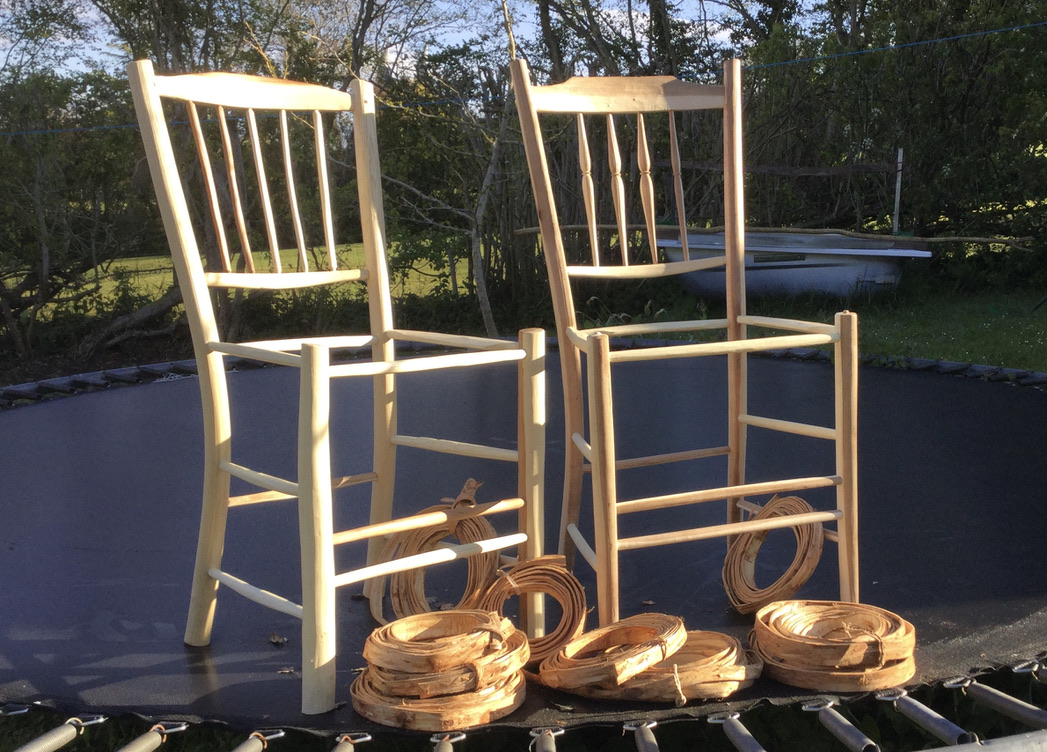
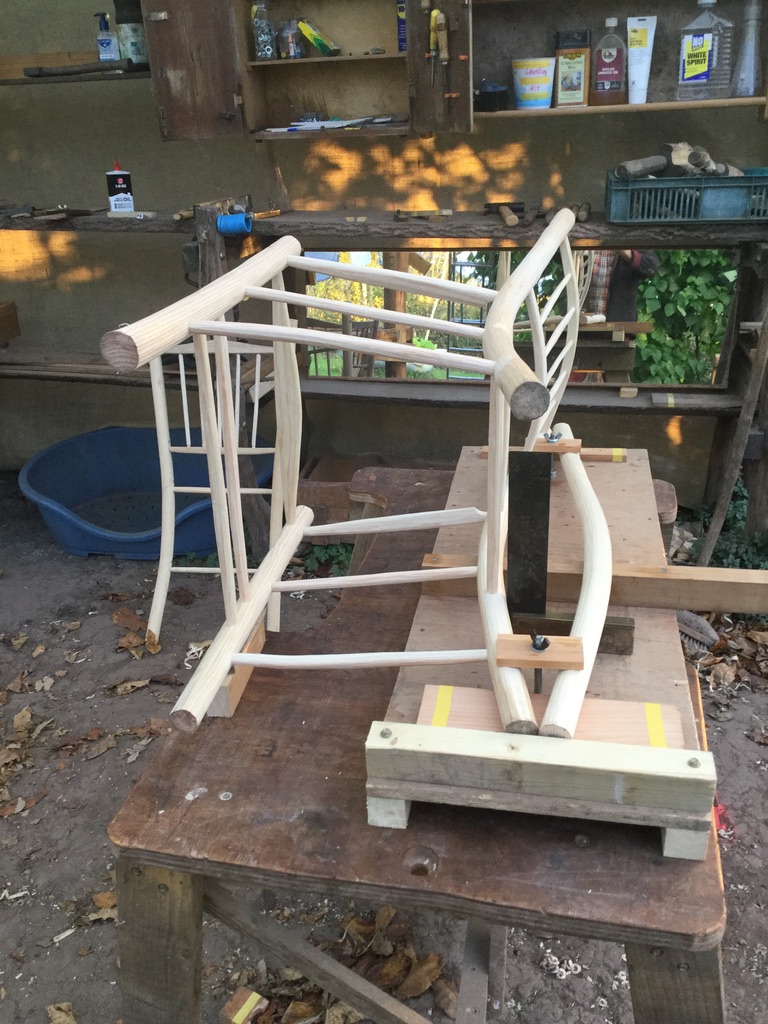
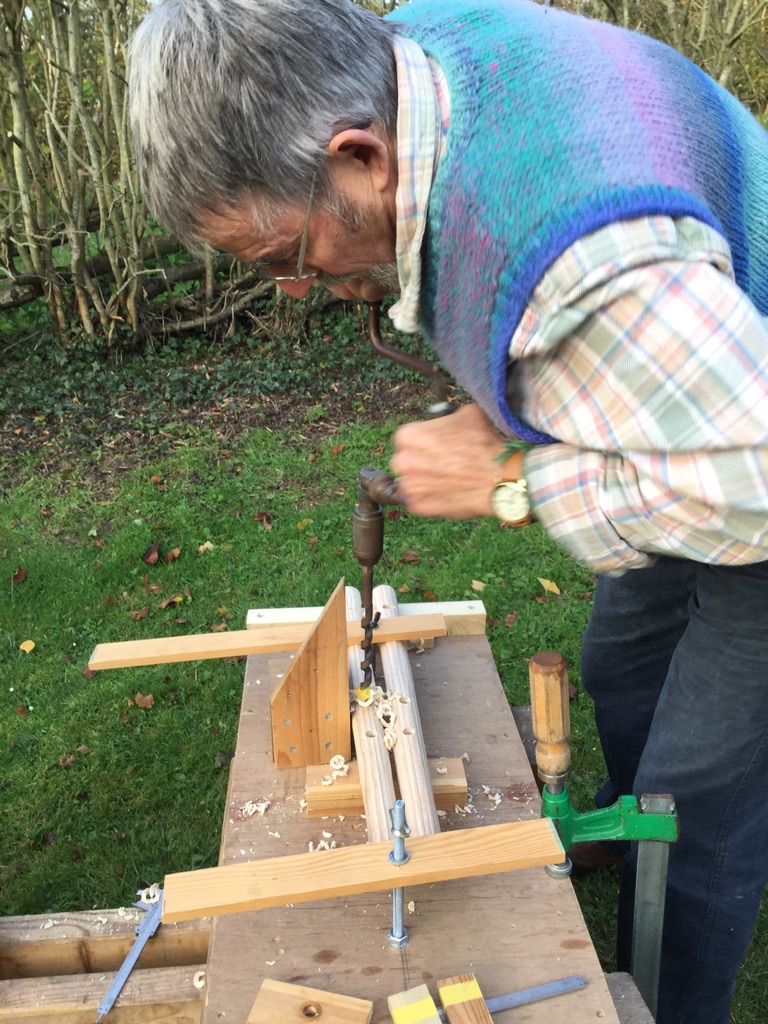
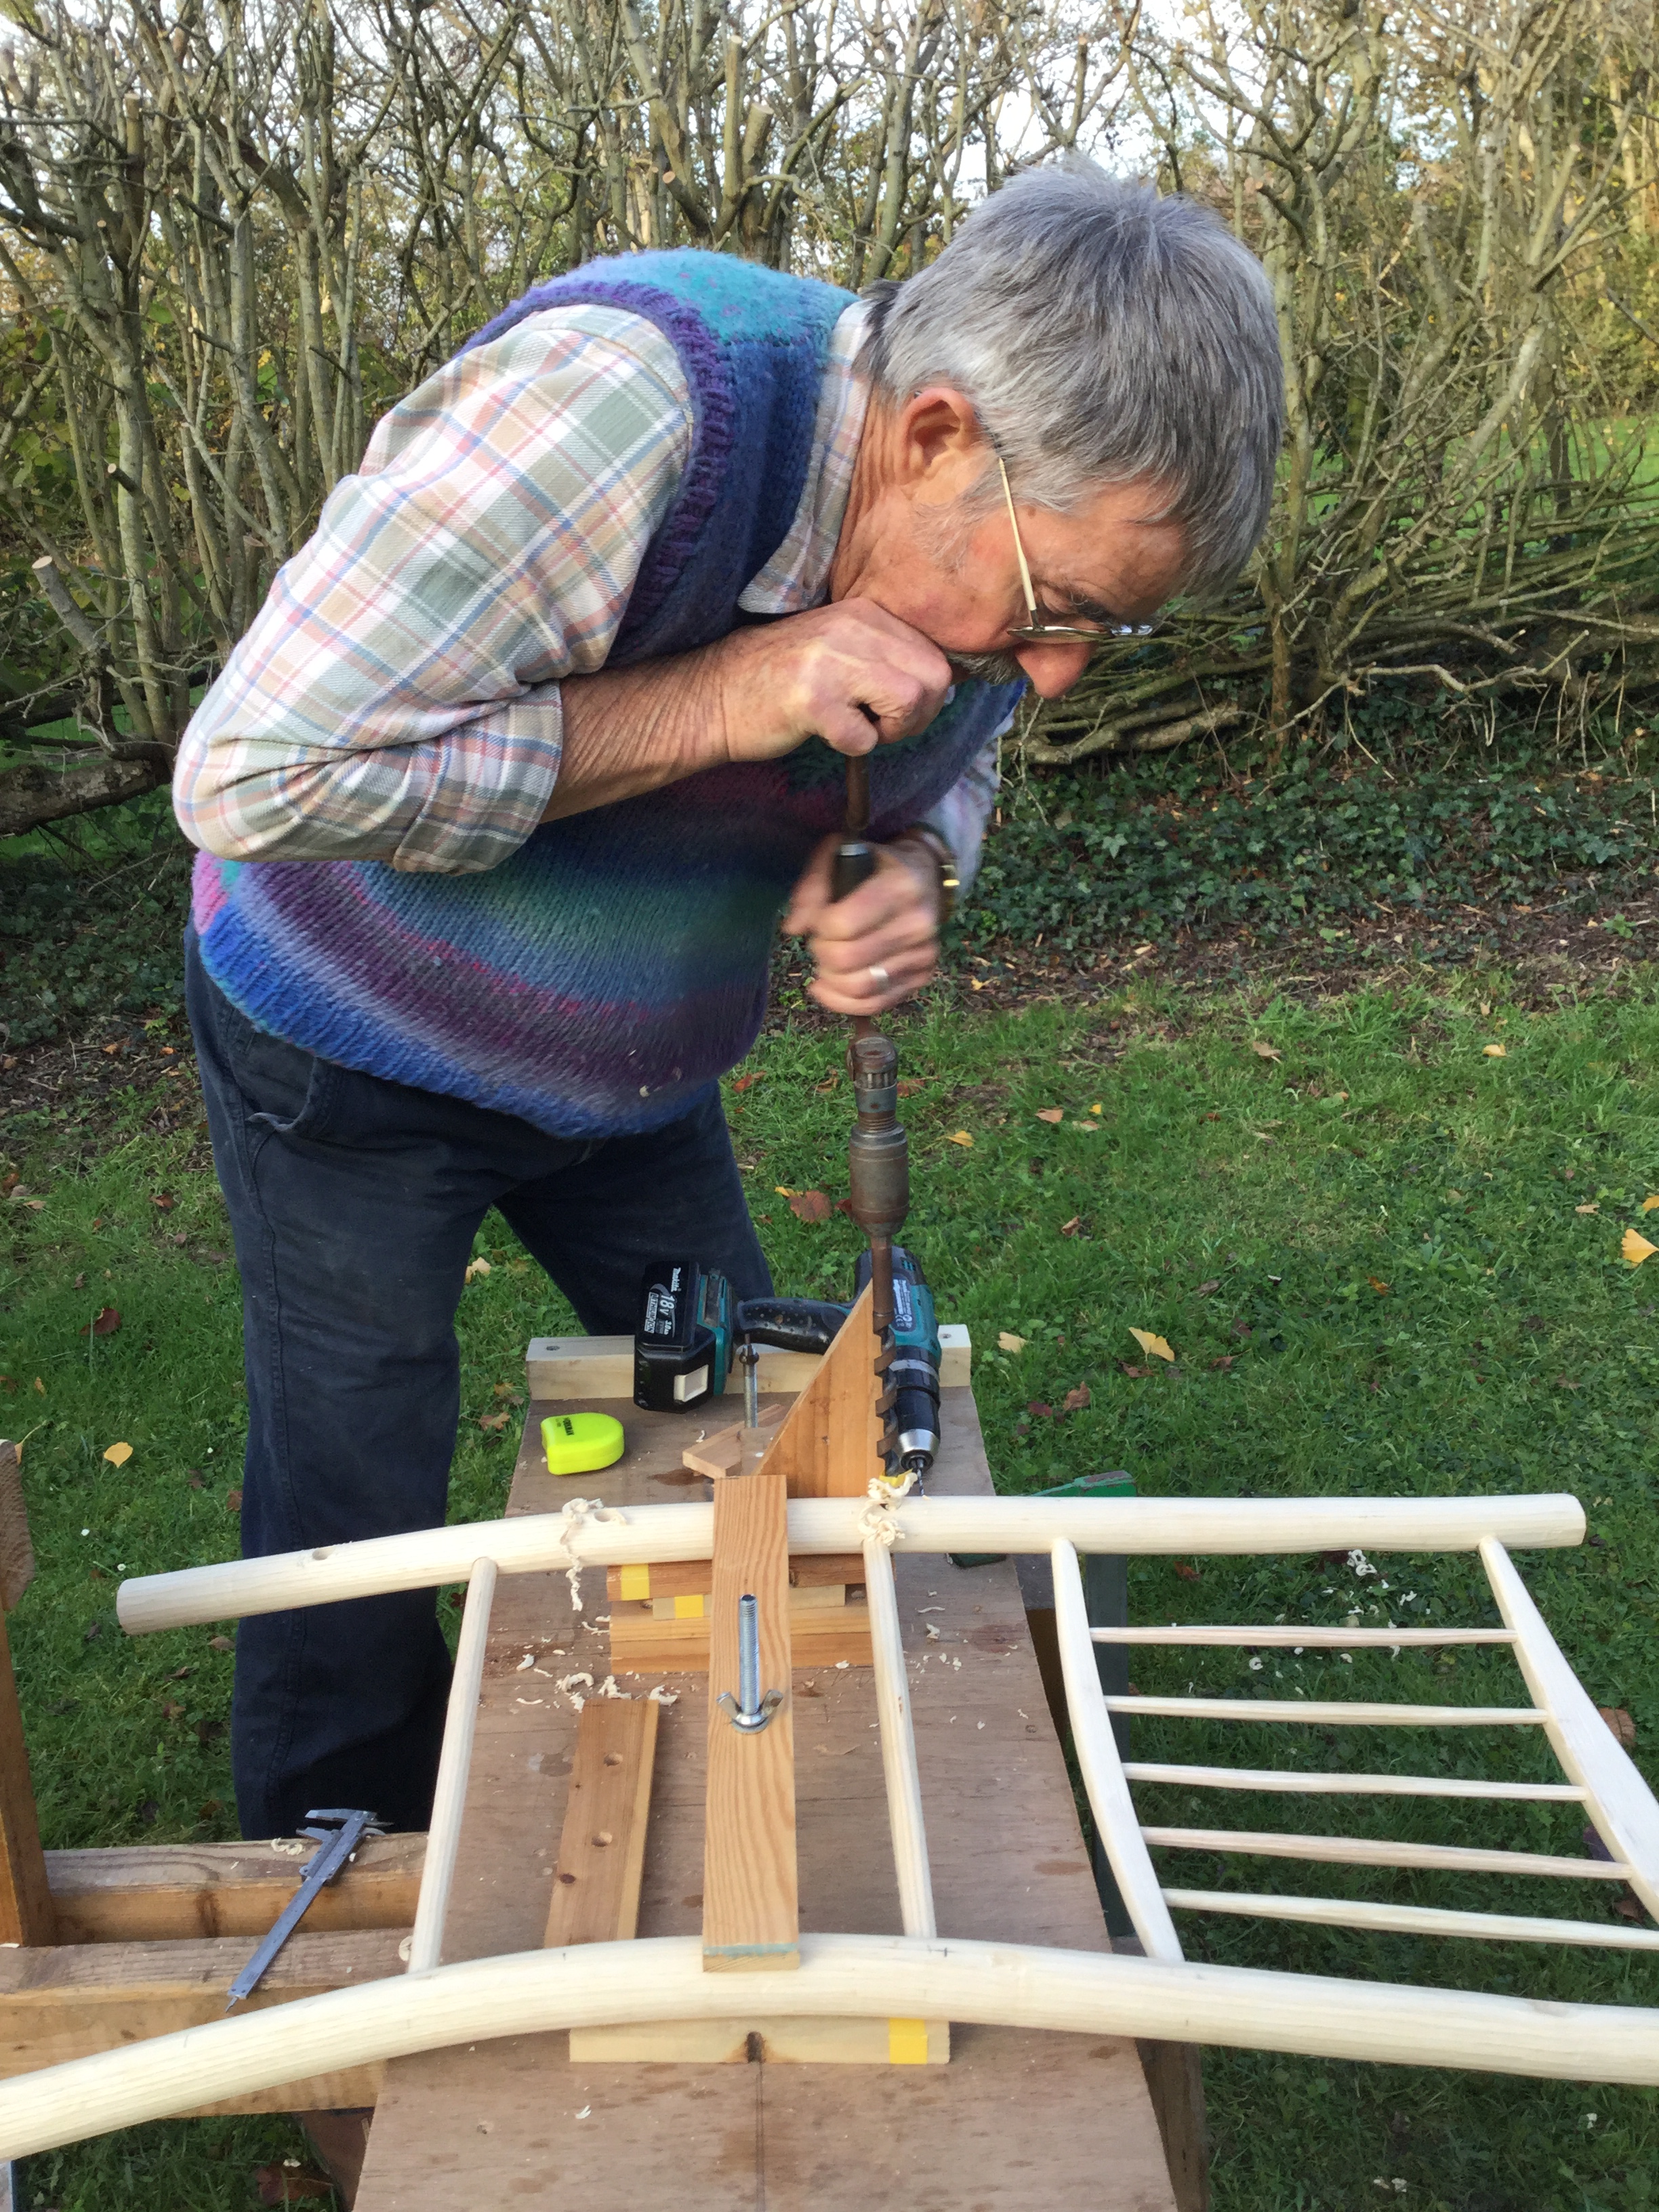
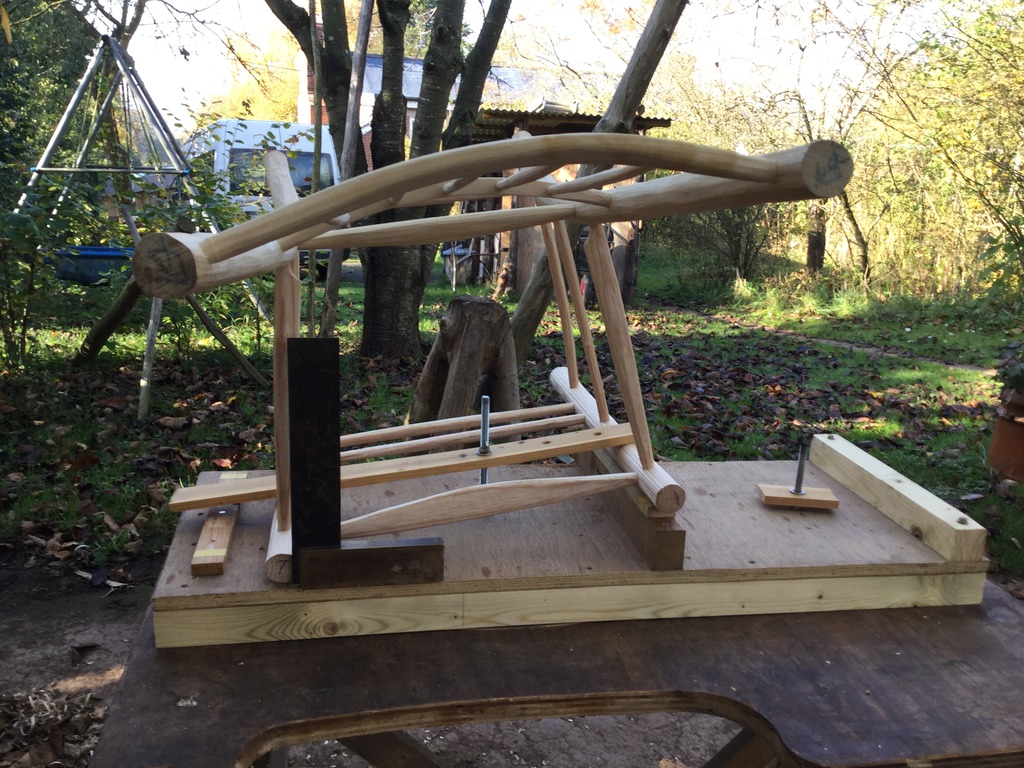
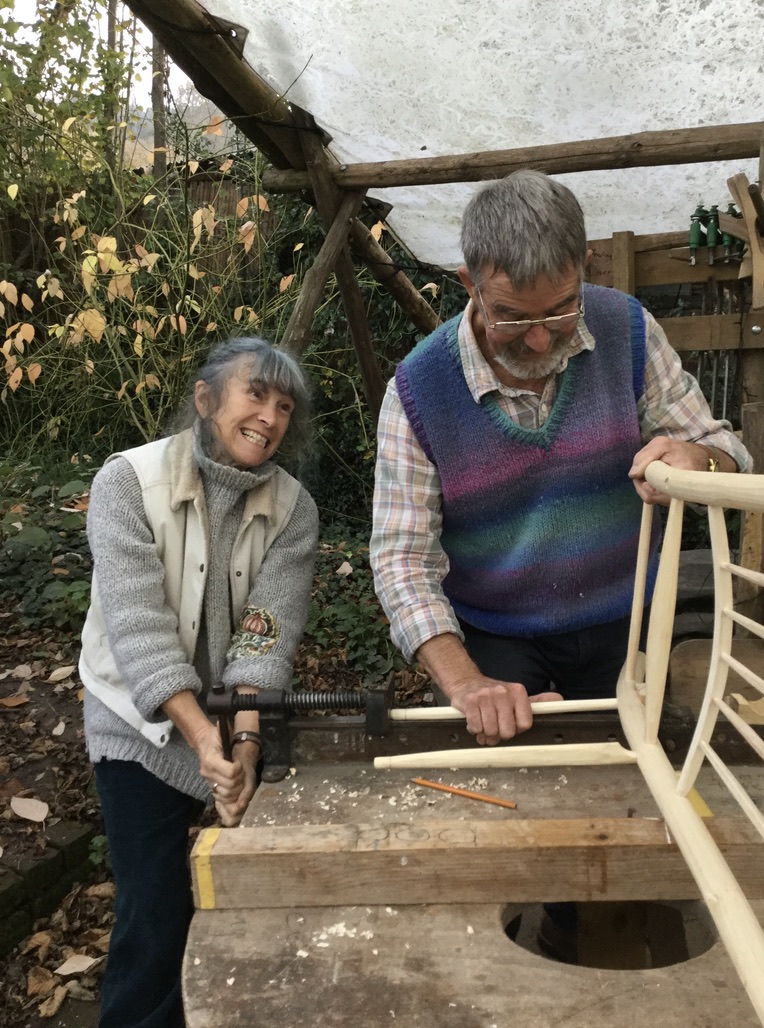
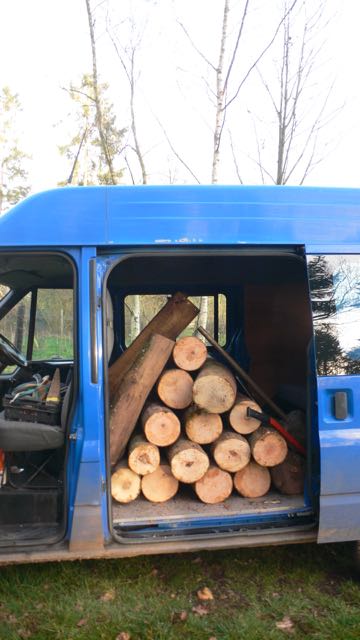
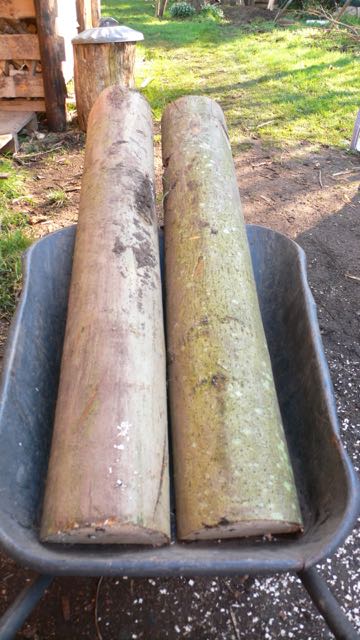
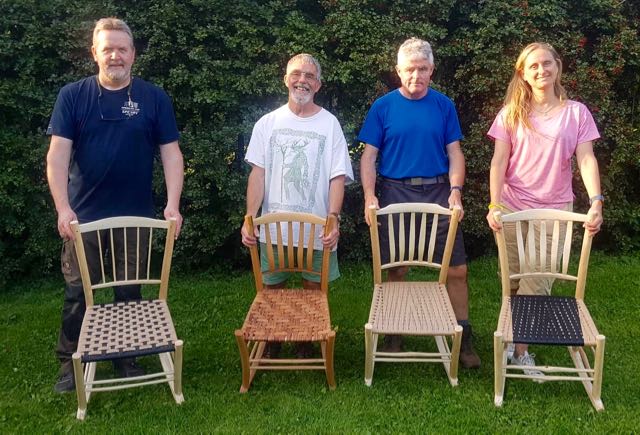
Although this chair shares much in common with the usual chairs we make on the courses, the dimensions are quite different and the legs are bent on a different jig. This complicates the tight course schedule, so this summer I ran a couple of courses specifically to make wee-wor chairs and allowed an extra day for producing and fitting the rockers. If the chair is to be used outdoors, then the narrow rockers of the original chair tend to sink into the soft ground, so we decided to make the rockers thicker (about 40mm or 1 1/2”).
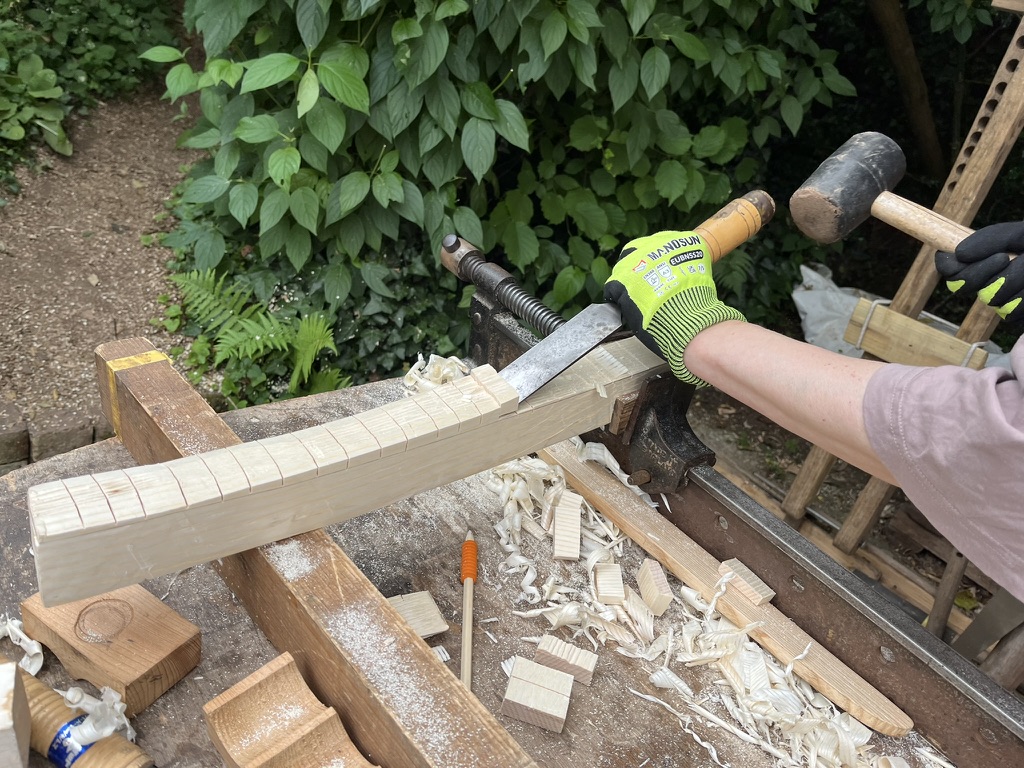
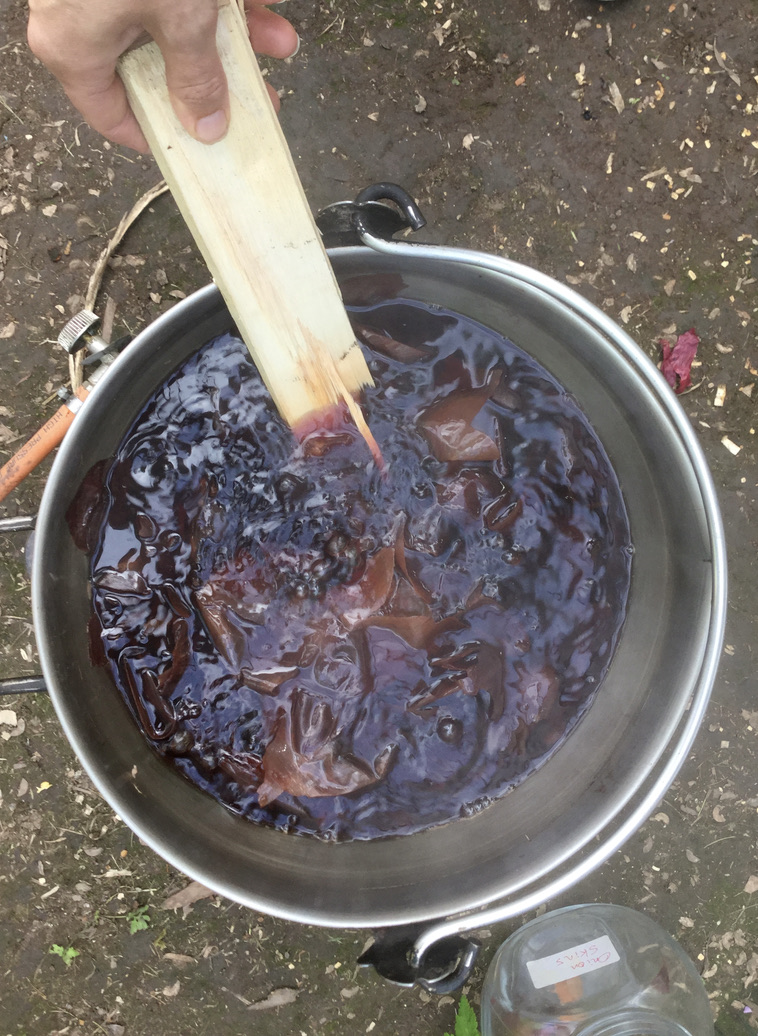
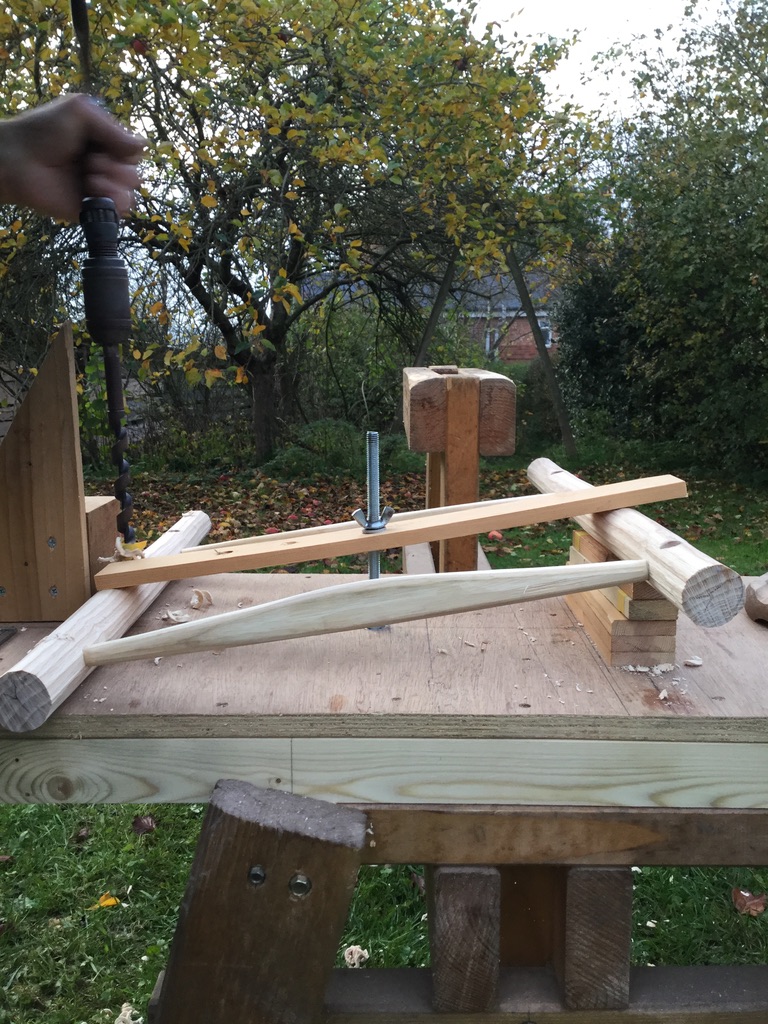
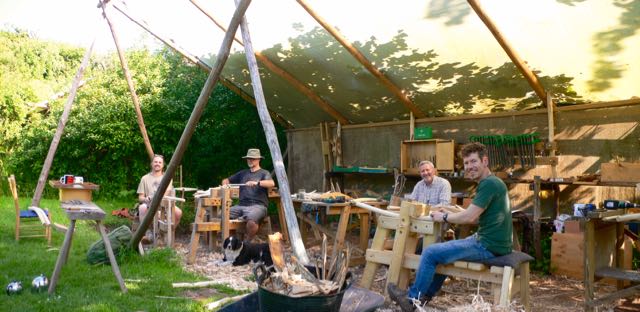
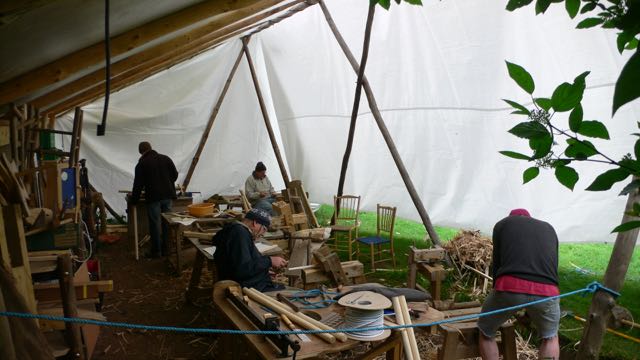
On the first of these courses we made the rockers out of wood fresh from the logs, as with all the other components. However unlike the usual cylindrical components of rungs, rails and legs, the shape of these rockers doesn’t lend itself to being cleft and shaved. We resorted to using axes, saws and chisels to shape the wood, which took us away from the harmonious process of using a drawknife and a shaving horse and the extra day proved to be invaluable.
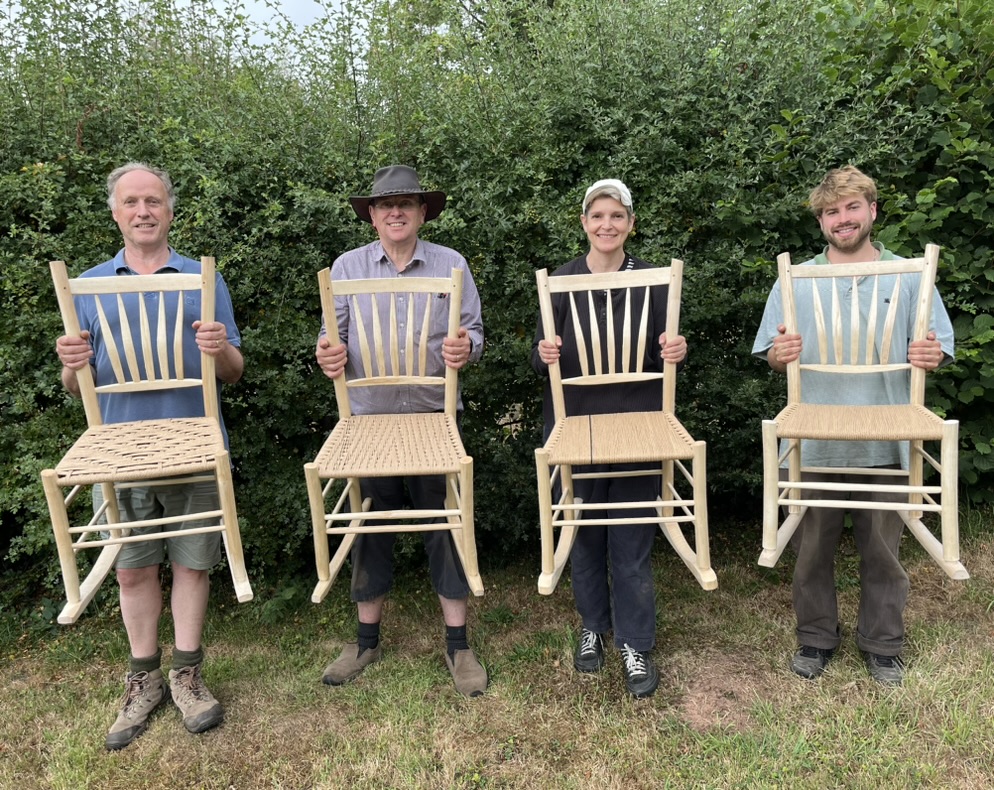
For the second course I decided to try a different approach using my planer-thicknesser together with a jigsaw to prepare the blanks for the rockers out of some seasoned ash planks. The course participants still needed to finish shaping them with drawknives and spokeshaves but it saved a great deal of strenuous effort and in fact we managed to finish the project after just 5 days.
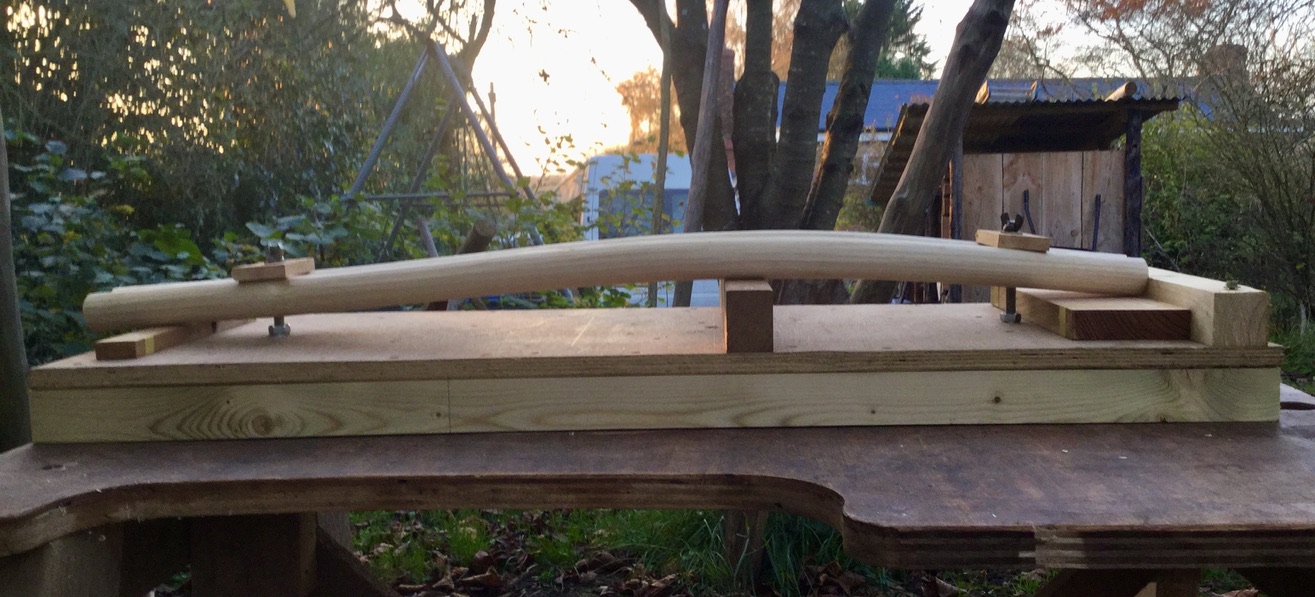
When the summer courses were over, I set about making a similar chair myself and this confirmed the sense in using this approach.
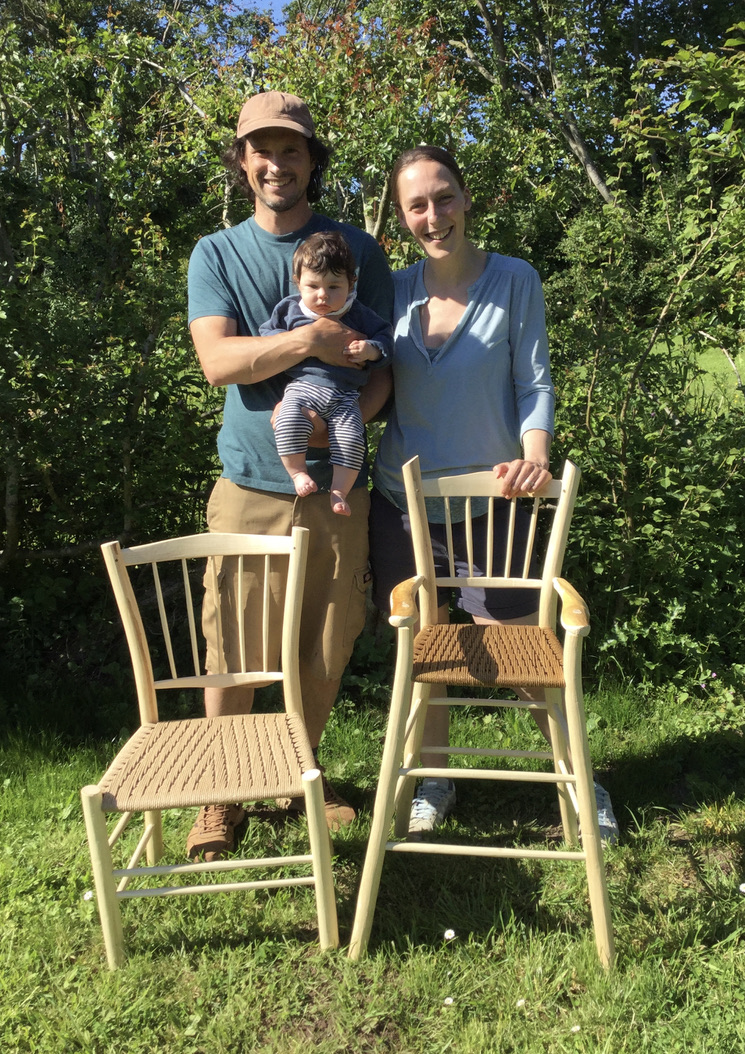
The wee-wor is a great chair for both indoor and outdoor use. Unlike dining chairs, it works well even if you don’t make a set, so I would like to keep it as an option for my courses. I would have to charge £50 for the materials and the preparation of the rockers but it should be possible to complete the project in the normal 5-days duration of a course.


You must be logged in to post a comment.